
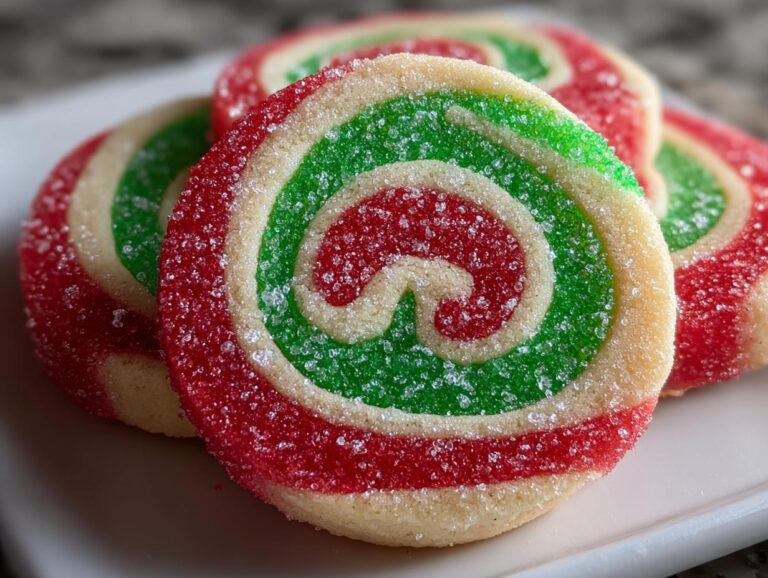
There’s something magical about holiday baking that brings out the kid in all of us, isn’t there? Every December, I turn into a total cookie monster—flour dust everywhere, butter softening on the counter, and that sweet vanilla scent filling the whole house. But nothing gets me more excited than making these cheerful Christmas pinwheel cookies!
I still remember the first time my aunt taught me to make them when I was seven. We giggled as our hands turned red and green from the food coloring, and I thought the colorful swirls were pure baking wizardry. Now it’s my own kids who press their noses against the oven door, waiting for these festive spirals to emerge golden and perfect.
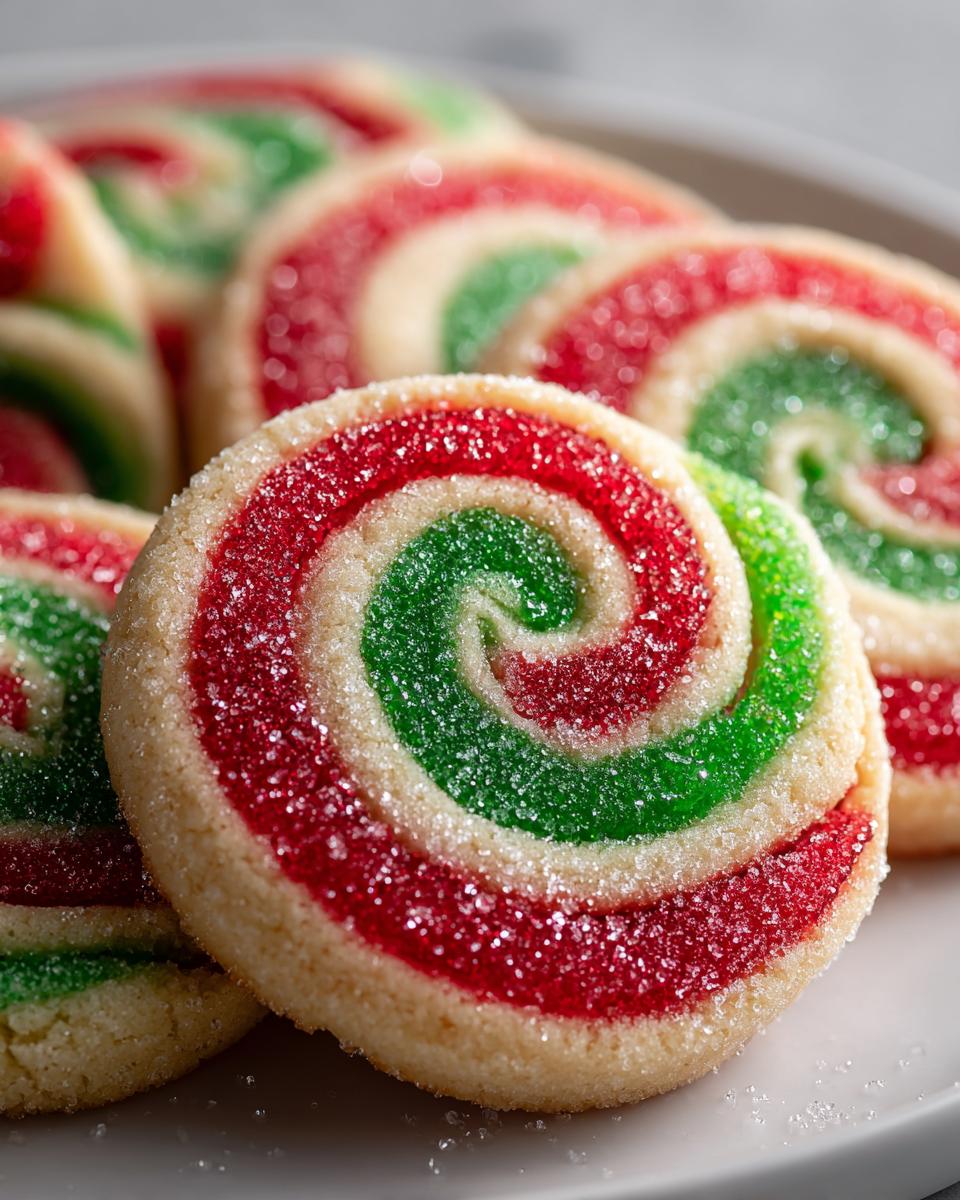
What makes these Christmas pinwheel cookies so special? They’re like little edible holiday ornaments—buttery, just sweet enough, and bursting with merry red-and-green spirals that’ll make your cookie tray the star of any party. Plus, they’re way easier to make than they look, promise!
Why You’ll Love These Christmas Pinwheel Cookies
Oh my gosh, where do I even start? These Christmas pinwheel cookies are my absolute favorite holiday treat to make (and eat!). Here’s why they’ll become your new tradition too:
- So easy – Don’t let the fancy swirls fool you! With just a little patience (mostly waiting for the dough to chill), even beginner bakers can nail these.
- Festive showstoppers – That red and green spiral is pure holiday magic. They look like you spent hours decorating when really, the colors do all the work!
- Cookie swap superstars – I bring these to every holiday party and they disappear faster than you can say “Santa.” The perfect balance of buttery and sweet makes them irresistible.
- That melt-in-your-mouth texture – The secret’s in the perfect ratio of butter to flour. They’re tender without being crumbly, with just the right amount of snap.
Trust me, once you see those first perfect spirals come out of the oven, you’ll be hooked. They’re like edible holiday cheer!
Ingredients for Christmas Pinwheel Cookies
Okay, let’s talk ingredients – because getting these right makes all the difference between “meh” swirls and “WOW!” spirals. I’ve made these cookies enough times to know exactly what works (and what doesn’t). Here’s everything you’ll need, measured precisely:
- 2 1/2 cups all-purpose flour – Spoon and level it, friends! Packed flour leads to tough cookies.
- 3/4 cup unsalted butter, softened – And I mean truly softened (leave it out for 1-2 hours). Cold butter won’t cream properly.
- 3/4 cup granulated sugar – Regular white sugar gives that perfect crisp edge.
- 1 large egg – Room temperature is key here – it blends smoother into the dough.
- 2 tsp vanilla extract – The good stuff! Imitation vanilla makes the cookies taste flat.
- Red and green gel food coloring – Gel gives vibrant colors without altering dough consistency (liquid food coloring makes it sticky).
- White sanding sugar (optional) – For that festive sparkle on the edges!
- 1/2 tsp baking powder + 1/2 tsp salt – Our unsung heroes for just the right lift and flavor balance.
See? Nothing fancy – just quality basics measured carefully. Now let’s make some magic!
Equipment You’ll Need
Before we dive into making these gorgeous Christmas pinwheel cookies, let’s gather our tools! You probably have most of this in your kitchen already:
- Stand mixer or hand mixer – Creaming that butter and sugar by hand is a workout I never sign up for
- Parchment paper – Lifesaver for rolling out sticky dough without sticking disasters
- Rolling pin – Any basic one works, but I’m partial to my grandma’s wooden one
- Sharp knife – Dull blades will smash those perfect swirls we worked so hard for
- Plastic wrap – For wrapping our pretty dough log before chilling
That’s it! No fancy gadgets needed – just simple tools for simple (but spectacular) cookie magic.
How to Make Christmas Pinwheel Cookies
Alright, let’s get to the fun part – making these gorgeous Christmas pinwheel cookies! I’ll walk you through each step, just like I’m right there in the kitchen with you. Don’t worry – it’s easier than it looks, and the results are SO worth it.
Making the Dough
First things first – cream that butter and sugar like your holiday spirit depends on it! I use my stand mixer on medium for about 2 minutes until it’s light and fluffy, scraping down the sides halfway. Then beat in the egg and vanilla until just combined – overmixing here makes tough cookies.
Now, whisk together the dry ingredients in another bowl. Add them to the butter mixture in two batches, mixing on low just until the flour disappears. The dough should be soft but not sticky. Here’s where we divide it into three equal portions – I use a kitchen scale for precision, but eyeballing works too!
Coloring and Layering
Time for the festive magic! Tint one portion with red gel food coloring and another with green. Start with just a little gel – you can always add more. Knead it in until the color’s uniform (wear gloves unless you want holiday hands!).
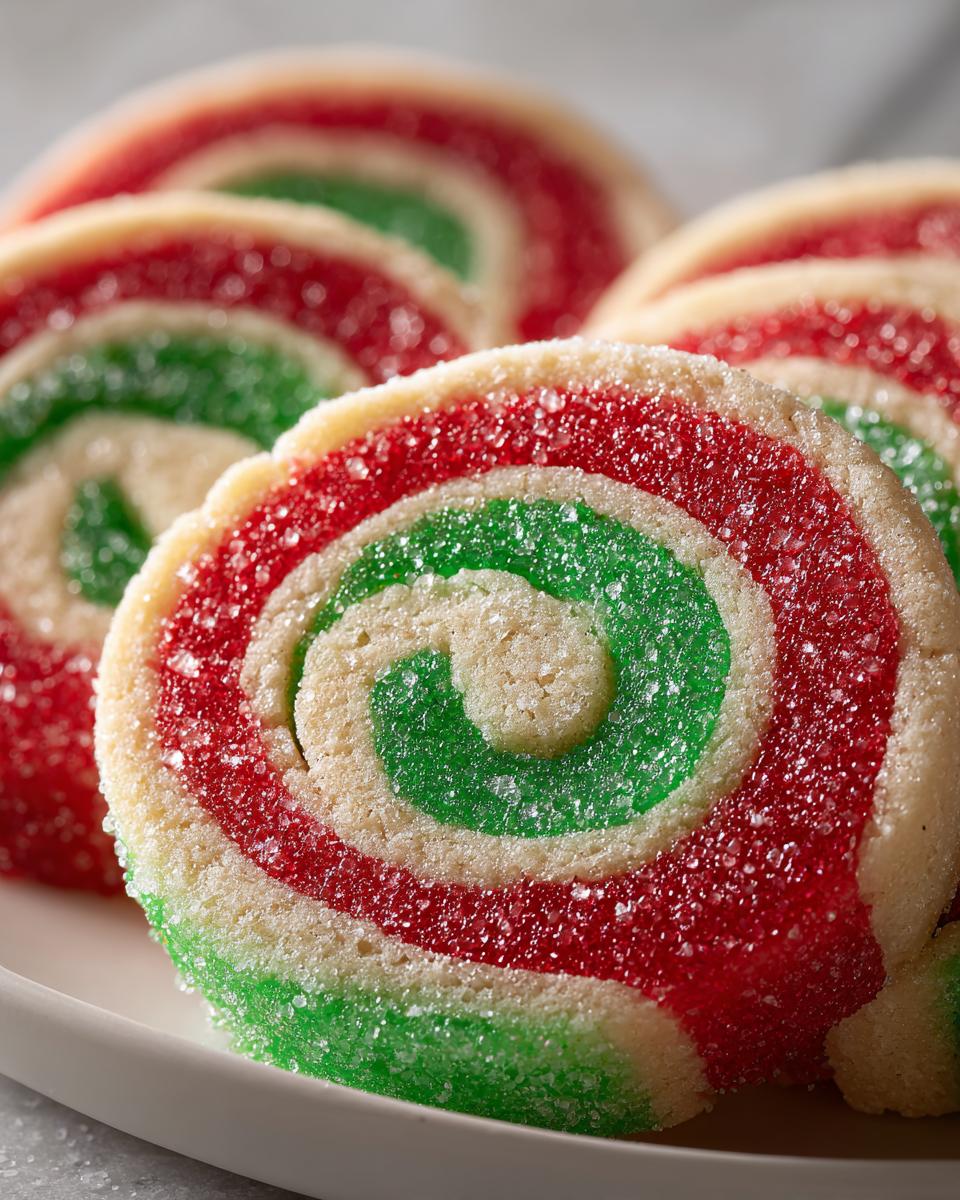
Roll each colored dough between two sheets of parchment into 8×6-inch rectangles – this prevents sticking without extra flour. Peel off the top parchment, then carefully stack: red on bottom, plain in middle, green on top. Use the bottom parchment to help roll it all up tightly, like a jelly roll. The neater your roll, the prettier the spirals!
Chilling and Baking
Here’s the step impatient bakers (like me!) always want to skip – but don’t! Wrap that beautiful dough log tightly in plastic and chill for at least 2 hours (overnight’s even better). This firms everything up for perfect slices.
When you’re ready to bake, preheat to 350°F and line baking sheets with parchment. Use a sharp knife to slice 1/4-inch rounds – wipe the blade between cuts for clean edges. Optional: Roll the edges in sanding sugar for extra sparkle. Bake 8-10 minutes until just set (they’ll firm up as they cool). Let them rest on the sheet for 2 minutes before transferring to a rack.
And voila – you’ve just made showstopping Christmas pinwheel cookies that’ll have everyone asking for your secret!
Tips for Perfect Christmas Pinwheel Cookies
After making hundreds (okay, maybe thousands) of these Christmas pinwheel cookies over the years, I’ve learned all the tricks to get them just right. Here are my can’t-live-without tips:
- Gel food coloring is non-negotiable – Liquid coloring makes the dough sticky and dull. Gel gives those vibrant holiday colors without changing the texture.
- Chill time is sacred – I know it’s tempting to rush, but that 2-hour minimum chill is what keeps your spirals from turning into abstract art when you slice them.
- Rotate those baking sheets – Especially if your oven has hot spots like mine. Halfway through baking gives you evenly golden cookies every time.
- Slice with a warm blade – Dip your knife in hot water and dry it between slices for the cleanest cuts. Game changer!
Follow these, and your cookies will look like they came from a fancy bakery – promise!
Variations and Substitutions
Okay, let’s get creative with these Christmas pinwheel cookies! While I love the classic version, sometimes you gotta mix things up. Here are my favorite twists that still deliver that wow factor:
- Peppermint magic – Swap half the vanilla for peppermint extract in the white dough layer. That cool mint with the buttery cookie? Holiday heaven!
- Natural food dyes
- Gluten-free friends – Use your favorite 1:1 gluten-free flour blend. The texture changes slightly, but the swirls stay just as pretty!
- Festive color combos – Try gold and blue for Hanukkah, or go wild with purple and silver for a winter wonderland look.
– No gel colors? No problem! Beet powder makes a gorgeous red, and matcha or spinach powder works for green (just add a smidge more flour if the dough gets sticky).
The best part? Even with substitutions, these cookies always bring that holiday cheer!
Storing and Serving Christmas Pinwheel Cookies
Now that you’ve made these gorgeous Christmas pinwheel cookies, let’s talk about keeping them fresh and showing them off! These buttery beauties stay delicious for up to 2 weeks if stored right. I always use an airtight container with parchment between layers – that keeps them from sticking together.
For longer storage, freeze the dough log before slicing (up to 3 months!) or bake and freeze the cookies for 1 month. Just thaw at room temperature when the cookie craving hits. Serve them on your prettiest holiday platter – they look amazing next to chocolate-dipped pretzels or peppermint bark. My kids love when I stack them in clear cookie jars with red and green ribbons tied around the top. Honestly, they’re almost too pretty to eat… almost!
Nutritional Information
Just so you know what you’re biting into (because let’s be real – we’re all eating more than one!), here’s the scoop per cookie: about 110 calories, 5g fat, and 14g carbs. Remember, nutrition varies based on ingredients and brands – these are just estimates. But hey, it’s the holidays… calories don’t count when they’re this festive, right?
Frequently Asked Questions
I get asked about these Christmas pinwheel cookies all the time – here are the answers to the questions that pop up most often:
“Can I use liquid food coloring instead of gel?”
Oh honey, I wouldn’t recommend it! Liquid coloring makes the dough sticky and gives duller colors. Gel food coloring is the secret to those vibrant holiday swirl cookies. If you’re in a pinch, reduce other liquids slightly to compensate.
“How long do these festive rolled cookies keep fresh?”
Stored properly in an airtight container, they’ll stay delicious for up to 2 weeks (if they last that long!). The butter content keeps them tender, and the sugar acts as a preservative. Just keep them away from heat sources!
“Can I make these ahead for a cookie exchange?”
Absolutely! These colorful Christmas baking staples freeze beautifully. Either freeze the dough log (wrapped tightly) for up to 3 months, or bake and freeze the cookies for 1 month. Thaw at room temperature before serving.
“Why did my spirals come out blurry?”
Two likely culprits: dough wasn’t chilled enough (that 2-hour minimum is crucial!), or your knife wasn’t sharp enough. A warm, sharp blade makes clean slices every time!
You can find more Christmas baking ideas on our Pinterest page.
PrintDelicious Christmas Pinwheel Cookies in 8 Simple Steps

Bright, buttery Christmas pinwheel cookies perfect for holiday cookie swaps.
- Prep Time: 30 minutes
- Cook Time: 10 minutes
- Total Time: 2 hours 40 minutes
- Yield: 36 cookies 1x
- Category: Dessert
- Method: Baking
- Cuisine: American
- Diet: Vegetarian
Ingredients
- 2 1/2 cups all-purpose flour
- 1/2 tsp baking powder
- 1/2 tsp salt
- 3/4 cup unsalted butter, softened
- 3/4 cup granulated sugar
- 1 large egg
- 2 tsp vanilla extract
- Red and green gel food coloring
- White sanding sugar (optional for rolling)
Instructions
- Beat softened butter and sugar until light and fluffy. Mix in egg and vanilla.
- Add flour, baking powder, and salt. Divide dough into 3 bowls. Tint one red, one green, leave one plain.
- Roll out each dough between parchment sheets. Stack red, white, and green layers. Roll into a tight log.
- Wrap the dough log and chill for 2+ hours.
- Slice into 1/4-inch rounds, roll edges in sanding sugar if desired, and bake at 350°F (175°C) for 8–10 minutes.
Notes
- Use gel food coloring for vibrant colors
- Chilling dough ensures clean slices
- Sanding sugar adds festive sparkle
Nutrition
- Serving Size: 1 cookie
- Calories: 110
- Sugar: 6g
- Sodium: 35mg
- Fat: 5g
- Saturated Fat: 3g
- Unsaturated Fat: 2g
- Trans Fat: 0g
- Carbohydrates: 14g
- Fiber: 0g
- Protein: 1g
- Cholesterol: 15mg