
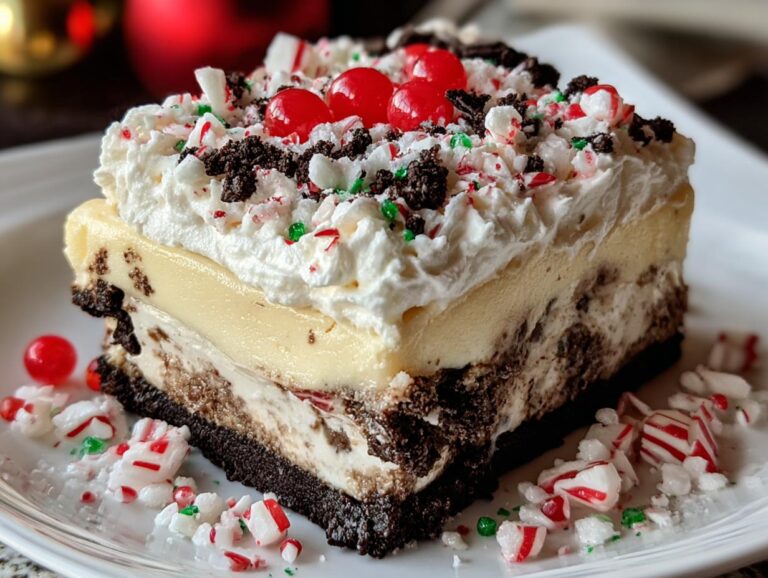
You know those holiday parties where everyone crowds around the dessert table first? That’s exactly what happened when I brought out this Christmas Oreo dessert last year – it disappeared before I could even snap a picture! Between the creamy layers and that irresistible Oreo crunch, it’s become my go-to for cookie exchanges, potlucks, and even Santa’s midnight snack (trust me, he’ll appreciate the no-bake convenience). What I love most is how simple it is – just crushed Oreos, a fluffy cream cheese layer, and that dreamy peppermint-kissed pudding. No oven required means more time for wrapping presents or sipping cocoa by the tree!
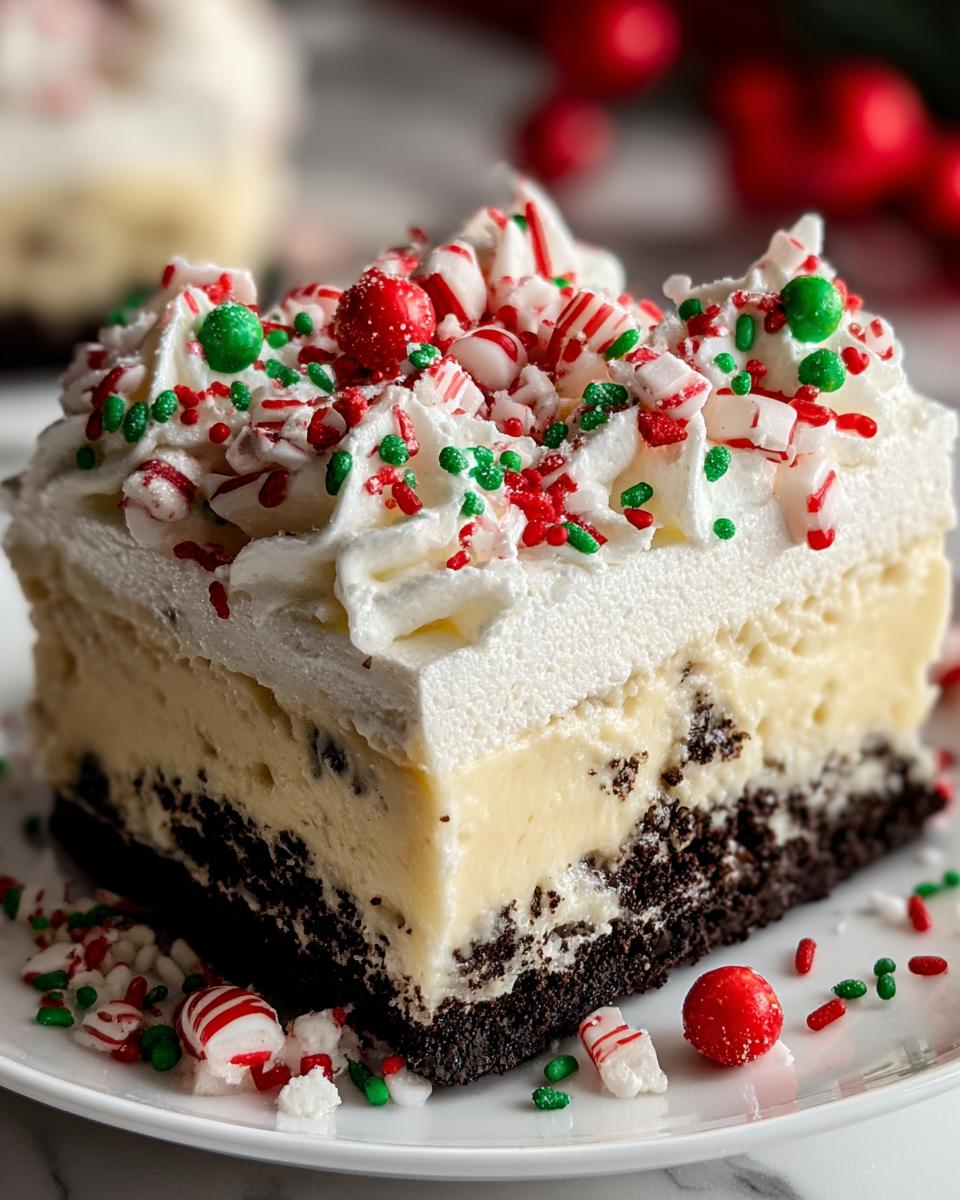
Why You’ll Love This Christmas Oreo Dessert
Oh my stars, where do I even start? This dessert checks ALL the holiday magic boxes:
- No-bake bliss: Your oven stays free for roasting chestnuts while this beauty sets in the fridge
- 20-minute prep: Faster than untangling Christmas lights!
- Creamy dreamy layers: That velvety cream cheese meets fluffy pudding – pure holiday happiness
- Festive showstopper: Crushed candy canes and sprinkles make it look like Santa’s workshop exploded (in the best way)
- Crowd-pleaser: Last Christmas, my cousin ate three helpings – need I say more?
Ingredients for Christmas Oreo Dessert
Here’s the merry little lineup you’ll need to create this festive wonder – I promise it’s all simple stuff you can grab in one grocery run (or maybe even raid from your pantry)!
- 36 Oreo cookies – crushed into fine crumbs (I use a food processor, but a rolling pin and some holiday aggression works too)
- 6 tbsp unsalted butter – melted to that perfect golden liquid state
- 8 oz cream cheese – softened (leave it out for 30 minutes – no cheating with the microwave!)
- 1/4 cup granulated sugar – because every holiday treat needs a little sweetness
- 2 tbsp milk – any kind you’ve got works here
- 2 1/2 cups whipped topping – divided (I like the extra-fluffy texture it gives)
- 1 box (3.4 oz) instant vanilla pudding mix – the secret to that creamy dreamy layer
- 1 1/2 cups cold milk – crucial for proper pudding thickening
- 1/2 tsp peppermint extract – optional but oh-so-festive (tastes like Christmas morning!)
- Garnishes: crushed candy canes, festive sprinkles, mini Oreos – go wild with holiday colors!
How to Make Christmas Oreo Dessert
Okay, let’s dive into the fun part! This dessert comes together like magic – just follow these simple steps and you’ll have everyone begging for the recipe. The key is taking your time with each layer (and resisting the urge to sneak bites before it’s fully set!).
Step 1: Prepare the Oreo Crust
First, grab those crushed Oreos and melted butter – this is where the magic begins! Mix them together until they look like dark, crumbly sand. Pour this into your 9×13 dish and press it down FIRMLY with your fingers or the back of a measuring cup. Here’s my secret: I like to use a small glass to really compact it – this prevents crumbling later. Pop it in the fridge for at least 10 minutes (no cheating – this chill time keeps the crust from turning into a crumbly mess when you add the next layers!).
Step 2: Make the Cream Cheese Layer
Now for the fluffy cloud layer! Beat that softened cream cheese with sugar and milk until it’s completely smooth – no lumps allowed! This takes about 2 minutes with a hand mixer. Gently fold in 1 cup of whipped topping (I use a spatula and big sweeping motions to keep it airy). Spread this over your chilled crust – an offset spatula works wonders for getting it perfectly even. Pro tip: work from the center outward to avoid lifting crumbs!
Step 3: Add the Pudding Layer
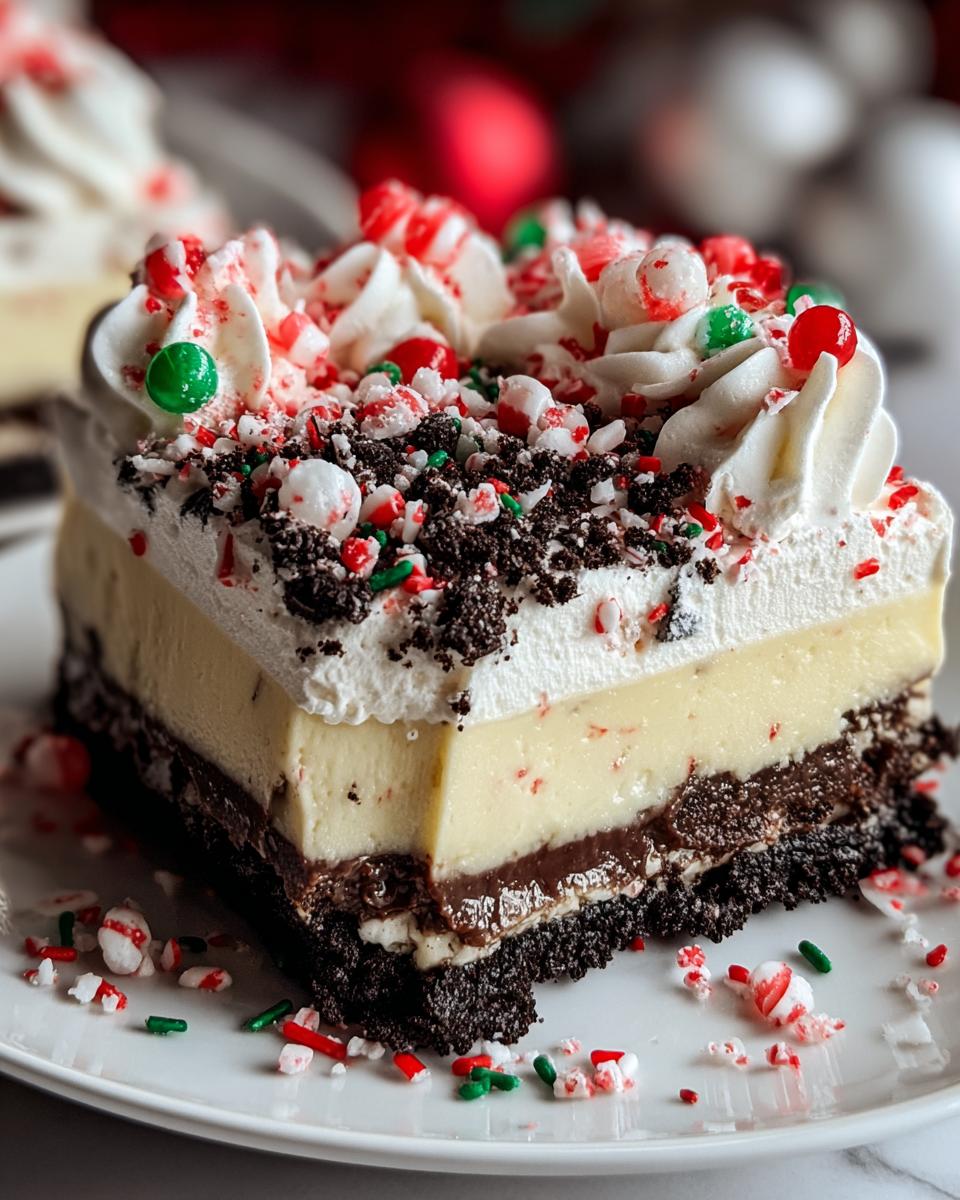
Time for the peppermint-kissed magic! Whisk the pudding mix with cold milk and peppermint extract (if using) for exactly 2 minutes – set a timer! It should thicken beautifully. Fold in another 1/2 cup whipped topping (this makes it extra light). Carefully spread this over the cream cheese layer – I like to dollop spoonfuls across the surface first to make spreading easier. Work quickly before the pudding sets!
Step 4: Garnish and Chill
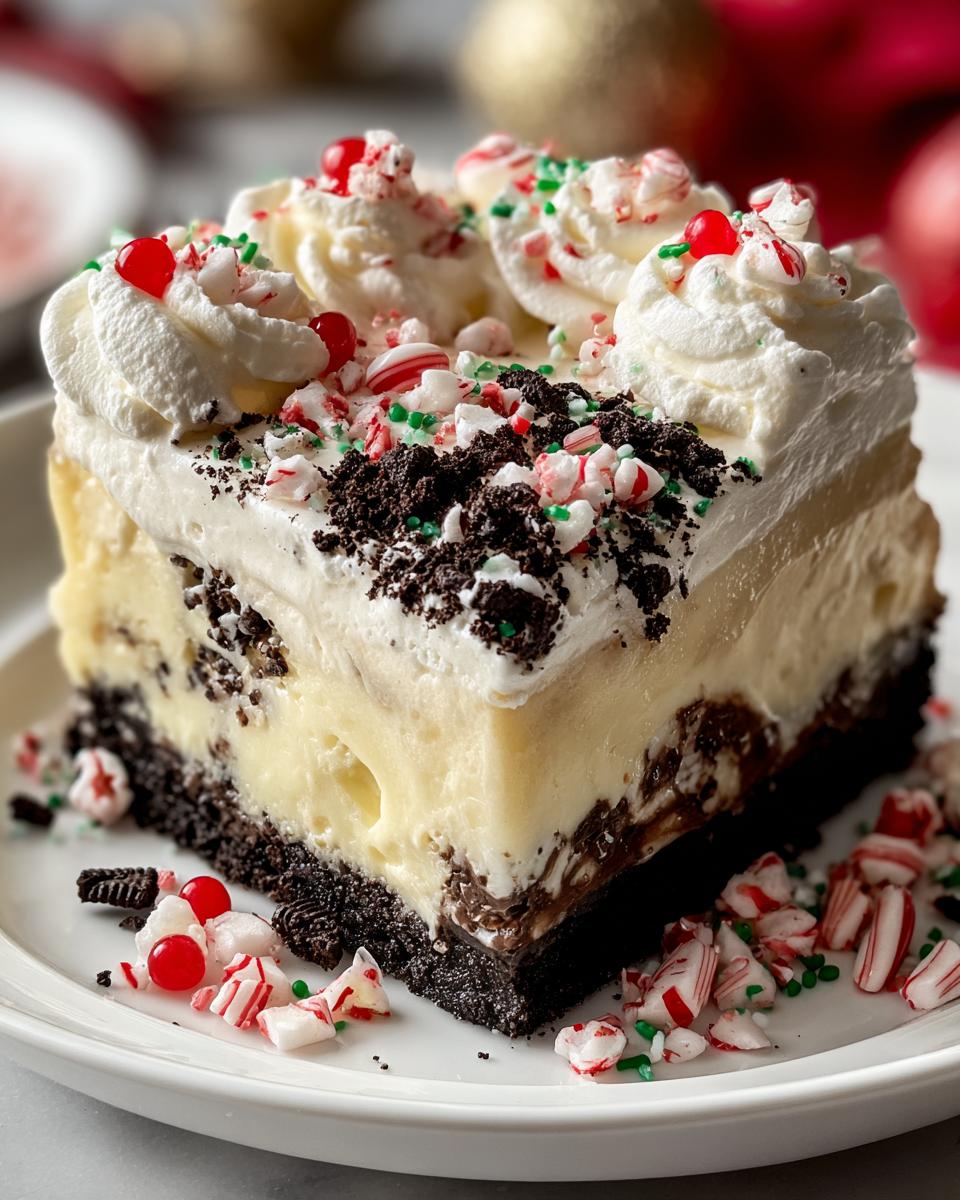
Almost there! Spread the remaining whipped topping over everything – make it pretty with swoopy peaks. Now the fun part: shower it with crushed candy canes, sprinkles, mini Oreos – go nuts! The final (and hardest) step: refrigerate for at least 4 hours, but overnight is even better. I know it’s tempting, but trust me – waiting lets all those dreamy layers set up perfectly. When you finally cut into it, you’ll get those picture-perfect slices with all the gorgeous layers showing!
Tips for the Best Christmas Oreo Dessert
After making this dozens of times (and fielding all my neighbors’ recipe requests!), here are my can’t-skip secrets:
- Full-fat cream cheese only – low-fat versions make the layer weepy (learned that the hard way!)
- Taste as you go with peppermint extract – some brands pack more punch
- Chill overnight if you can – those layers hold their shape beautifully
- Use room temp ingredients for smoother mixing (except the milk for pudding – keep that icy cold!)
- Crush garnishes last-minute so they stay crunchy against the creamy layers
Ingredient Substitutions
Don’t stress if you’re missing something – this Christmas Oreo dessert is super flexible! For the whipped topping, homemade whipped cream works beautifully (just add a tablespoon of powdered sugar when whipping). Swap vanilla pudding for chocolate if that’s your holiday vibe, or try mint chocolate chip for extra festivity. Need dairy-free? Use plant-based cream cheese and coconut whipped topping – it works like a charm! Just avoid sugar-free pudding mixes (they don’t set properly) and you’re golden.
Serving and Storage
Here’s the scoop on enjoying your masterpiece! Always serve this Christmas Oreo dessert chilled – I keep my knife under hot water for cleaner slices. A little extra sprinkle of crushed candy canes on each plate makes it extra festive. Store any leftovers (ha! as if!) covered in the fridge for up to 3 days. Fair warning: freezing turns the layers weepy, so this one’s best enjoyed fresh with all your favorite holiday people!
Christmas Oreo Dessert FAQs
I’ve gotten so many questions about this festive no-bake dessert over the years – here are the ones that pop up most often at holiday gatherings!
Can I use different cookies besides Oreos?
Absolutely! Golden Oreos make a pretty “snowy” crust, or try mint Oreos for extra holiday flavor. Just keep the same 36-cookie measurement. My cousin swears by using gingerbread cookies for a spiced twist!
How far ahead can I make this?
This is the perfect make-ahead dessert! Assemble it up to 24 hours before serving – the layers actually taste better after chilling overnight. Just add the final garnishes right before serving to keep them crunchy.
Can I skip the peppermint extract?
Of course! The vanilla pudding layer is delicious on its own. For variety, I sometimes use almond extract or a splash of vanilla bean paste instead. One year I even swirled in some caramel sauce – holiday magic!
Why is my cream cheese layer lumpy?
This usually means your cream cheese wasn’t soft enough. Next time, let it sit out for a full hour before mixing. If you’re in a rush, microwave it for 5-second bursts (but no longer – melted cream cheese won’t whip properly!).
Nutritional Information
Each festive slice of this Christmas Oreo dessert clocks in at about 320 calories, with 16g fat and 24g sugar. Remember – exact numbers vary based on your specific brands of cookies and toppings. It’s holiday magic, not a math test!
Share Your Festive Creation
I’d love to see your holiday masterpiece! Snap a photo and tag me – nothing makes me happier than seeing your Christmas Oreo dessert creations. Happy baking! You can find more delicious recipes on Pinterest.
PrintMagical Christmas Oreo Dessert in 20 Minutes – No Bake Bliss!

A creamy no-bake dessert with layers of Oreo crust, cream cheese, vanilla pudding, and whipped topping, garnished with festive peppermint and sprinkles.
- Prep Time: 20 minutes
- Cook Time: 0 minutes
- Total Time: 4 hours 20 minutes
- Yield: 12 servings 1x
- Category: Dessert
- Method: No-Bake
- Cuisine: American
- Diet: Vegetarian
Ingredients
- 36 Oreo cookies (crushed into fine crumbs)
- 6 tbsp unsalted butter, melted
- 8 oz cream cheese, softened
- 1/4 cup granulated sugar
- 2 tbsp milk
- 1 cup whipped topping (Cool Whip or homemade)
- 1 box (3.4 oz) instant vanilla pudding mix
- 1 1/2 cups cold milk
- 1/2 tsp peppermint extract (optional)
- 1 1/2 cups whipped topping (for topping)
- Crushed peppermint candies, red/green sprinkles, mini Oreos, festive M&Ms (for garnish)
Instructions
- Make the Oreo crust by combining crushed Oreos and melted butter. Press into a 9×13 dish and chill for 10 minutes.
- Beat cream cheese with sugar and milk until fluffy. Fold in whipped topping and spread over the crust.
- Whisk pudding mix, milk, and peppermint extract until thickened. Fold in whipped topping and spread over the cream cheese layer.
- Spread the remaining whipped topping over the pudding layer and garnish with crushed peppermints, sprinkles, and festive candy.
- Chill for at least 4 hours or overnight. Serve cold.
Notes
- Use full-fat cream cheese for the creamiest texture.
- For a stronger peppermint flavor, add an extra 1/4 tsp of extract.
- Store leftovers covered in the fridge for up to 3 days.
Nutrition
- Serving Size: 1 slice
- Calories: 320
- Sugar: 24g
- Sodium: 280mg
- Fat: 16g
- Saturated Fat: 8g
- Unsaturated Fat: 6g
- Trans Fat: 0g
- Carbohydrates: 38g
- Fiber: 1g
- Protein: 4g
- Cholesterol: 25mg