
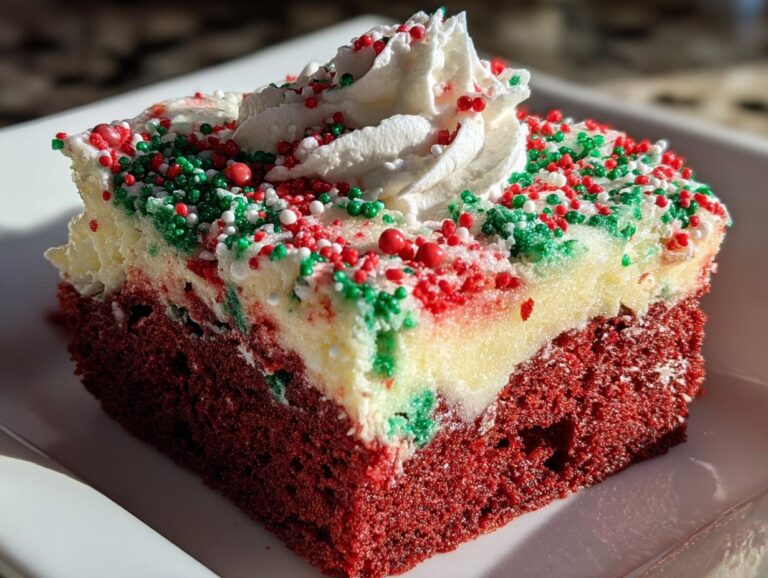
Oh my goodness, you have to try this red velvet poke cake – it’s my go-to holiday showstopper! Every Christmas, my family expects me to bring this exact dessert to our gatherings, and honestly, I don’t blame them. There’s just something magical about that rich red velvet cake soaked with creamy vanilla pudding, topped with fluffy whipped cream and those cheerful holiday sprinkles. It’s like Christmas in every bite!
I stumbled upon this recipe years ago when I was desperate for a festive dessert that wouldn’t keep me in the kitchen all day. Trust me, this red velvet poke cake is the definition of easy yet impressive. Even my cousin – the one who burns toast – managed to pull it off flawlessly last year. The best part? It gets better as it sits, so you can make it ahead of time while you’re busy wrapping presents or sipping cocoa by the tree.
This cake has saved me from so many last-minute holiday panics. Whether it’s for Christmas Eve dinner or a cookie exchange party, it always disappears fast. That deep red color just screams holiday cheer, and the pudding keeps it unbelievably moist. I’ll never forget the first time I made it – my nephew actually licked his plate clean (and then asked for seconds). Now that’s what I call a winning dessert!
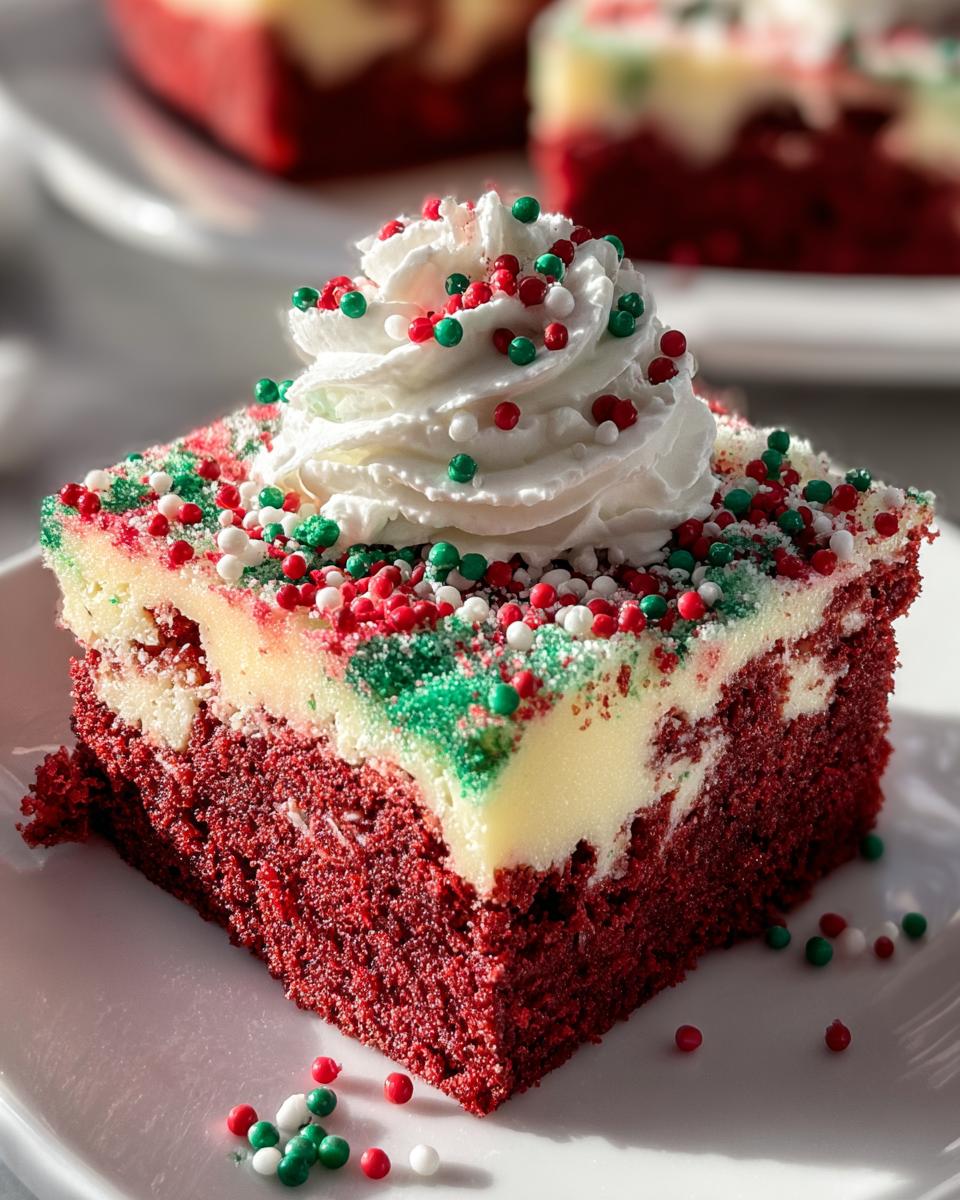
Why You’ll Love This Red Velvet Poke Cake
Oh, where do I even start? This cake has become my holiday MVP for so many reasons:
- Effortless elegance: It looks like you spent hours decorating, but honestly, the sprinkles do all the work for you. The vibrant red and green make it instantly festive!
- Moisture magic: That pudding soak keeps every single bite unbelievably tender – no dry cake disasters here.
- Crowd-pleaser: Kids go wild for the colors, adults adore the rich red velvet flavor. It’s the rare dessert that makes everyone happy.
- Time-saver: When holiday chaos hits, a box mix base is my secret weapon. The whole thing comes together in about 10 active minutes.
- Make-ahead dream: It actually tastes better after chilling, meaning one less thing to stress about on party day.
Seriously, this cake has saved my sanity during more holiday parties than I can count. The compliments never stop coming!
Ingredients for Red Velvet Poke Cake
Here’s everything you’ll need to make this holiday showstopper – I promise it’s all simple stuff you can grab in one quick grocery run:
- 1 box red velvet cake mix (plus whatever eggs, oil, and water it calls for – usually 3 eggs, ½ cup oil, 1 cup water)
- 1 (14 oz) can sweetened condensed milk – that thick, sticky-sweet magic in a can
- 1 (3.4 oz) box instant vanilla pudding mix – don’t grab cook-and-serve by mistake!
- 2 cups cold milk (whole milk makes it extra creamy)
- Red and green food coloring (gel gives the brightest colors, but liquid works too)
- 8 oz whipped topping (like Cool Whip), thawed overnight in the fridge
- Holiday sprinkles – go wild with red, green, white, or even edible glitter!
See? Nothing fancy – just pantry staples transformed into something spectacular. Now let’s get baking!
How to Make Red Velvet Poke Cake
Okay, let’s dive into the fun part! This recipe couldn’t be simpler, but I’ve got some little tricks that’ll make your poke cake absolutely perfect. Follow these steps, and you’ll have everyone begging for the recipe.
Step 1: Bake the Cake
First things first – preheat your oven to whatever temperature your red velvet cake mix calls for (usually 350°F). Grab a trusty 9×13-inch baking pan – I like to spray mine with a little baking spray just to be safe. Mix up the cake batter according to the box directions (that’s usually eggs, oil, and water), pour it into your prepared pan, and pop it in the oven.
Here’s my secret: set your timer for 2 minutes less than the box says. Red velvet cakes can dry out fast, and we want this baby moist! When a toothpick comes out with just a few crumbs (not wet batter), it’s done. Let it cool for about 15 minutes – warm cake absorbs the pudding better, but you don’t want it so hot it melts your topping later.
Step 2: Prepare the Pudding Filling
While the cake’s cooling, let’s make the magic happen! In a medium bowl, whisk together the pudding mix and cold milk until it starts to thicken – about 2 minutes. Now comes the festive part: stir in green food coloring until you get that perfect Christmas tree shade. I usually start with 5 drops of gel color and adjust from there.
Here’s where things get fun – take the handle of a wooden spoon and poke holes all over your slightly cooled cake. Don’t be shy! Space them about an inch apart so every bite gets that luscious pudding. Slowly pour your green pudding mixture over the cake, letting it seep into all those holes. The cake will drink it up like a sponge!
Step 3: Assemble and Decorate
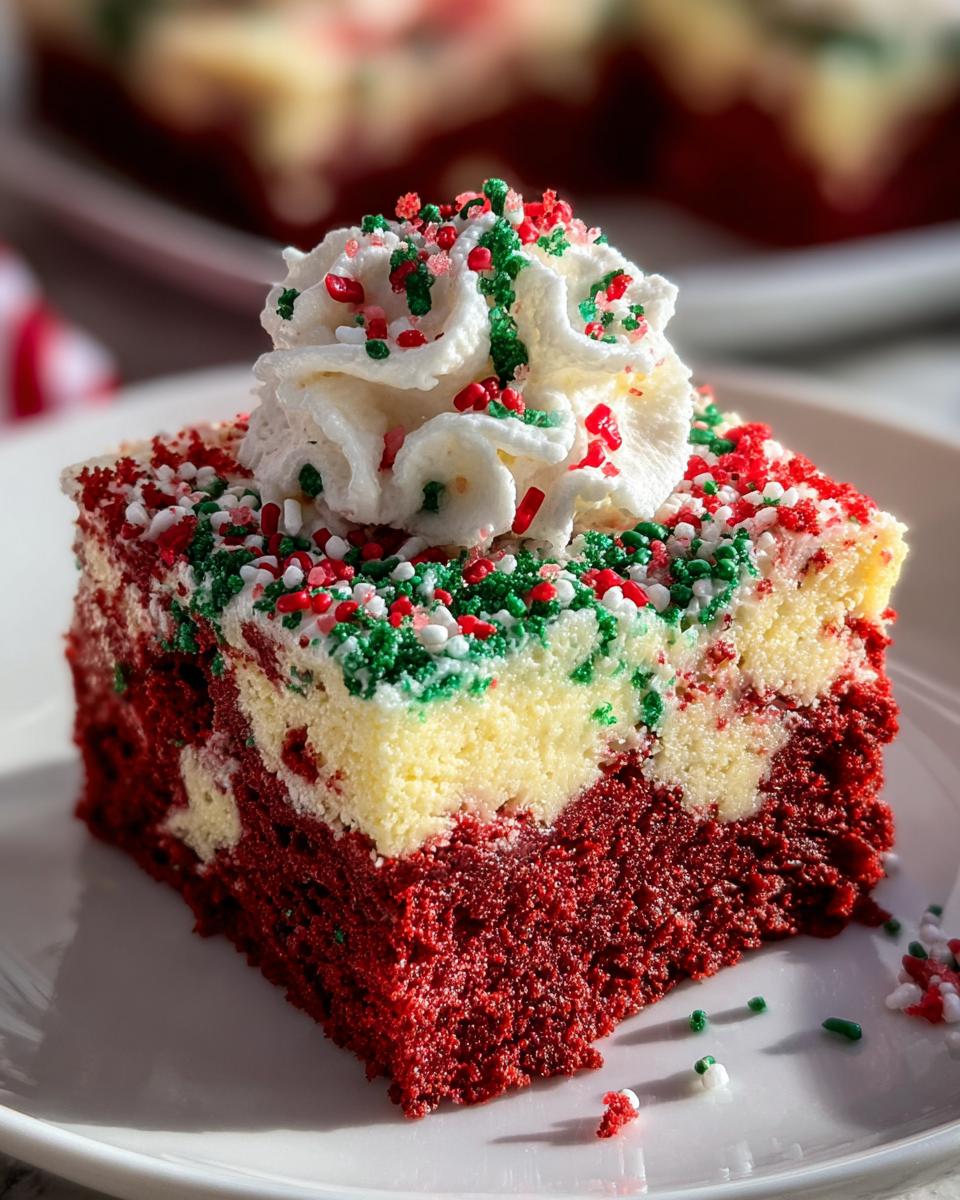
Now for the crowning glory! Spread your thawed whipped topping evenly over the cake – I like to use an offset spatula for this to get nice, smooth edges. Then go wild with those holiday sprinkles! I usually do a mix of red and green jimmies with some white nonpareils for that snowy effect.
The hardest part? Waiting! Pop the cake in the fridge for at least an hour (though overnight is even better) to let all those flavors meld together. When you’re ready to serve, slice into squares and watch everyone’s eyes light up. That first bite of creamy, moist, festive perfection is worth every second!
Tips for the Perfect Red Velvet Poke Cake
After making this cake more times than I can count, I’ve picked up some foolproof tricks to guarantee holiday success every time:
- Color like a pro: Gel food coloring gives the brightest, most festive green for your pudding – liquid works but might need more drops.
- Poke properly: Use the round end of a wooden spoon handle for perfect-sized holes that soak up maximum pudding goodness.
- Chill out: That hour (or better yet, overnight) in the fridge makes ALL the difference – it lets the flavors marry and sets the topping beautifully.
- Sprinkle smart: Add sprinkles right before serving if you want them super crisp, or right after topping if you prefer them slightly softened.
- Slice clean: Run your knife under hot water between cuts for picture-perfect slices every time.
Trust me, these little touches take your poke cake from good to “can I have the recipe?” great!
Ingredient Substitutions & Variations
Don’t stress if you’re missing something – this cake is crazy flexible! Here are my favorite swaps and twists:
- Whipped cream: Swap the Cool Whip for homemade whipped cream if you prefer – just whip 1 cup heavy cream with 2 tbsp powdered sugar until stiff peaks form.
- Pudding flavors: Try cheesecake or white chocolate pudding instead of vanilla for a fun twist (still use green coloring for that holiday pop!).
- Color schemes: Not feeling red and green? Use blue food coloring and snowflake sprinkles for a winter wonderland vibe.
- Condensed milk: Out of sweetened condensed milk? Mix 1 cup powdered sugar with ½ cup evaporated milk for a similar sweetness.
- Cake base: Chocolate cake mix works beautifully too – just call it a “peppermint poke cake” and add crushed candy canes!
The beauty of this recipe is how easily you can make it your own while keeping that same wow factor!
Serving and Storage Instructions
Here’s the best part – this cake actually gets better as it sits! For picture-perfect slices, serve it chilled straight from the fridge. I like to let it sit just 5 minutes at room temperature to take the edge off the cold. Leftovers? No problem! Just cover tightly with plastic wrap (press it right against the whipped topping) and refrigerate for up to 3 days. The pudding keeps it wonderfully moist – if it lasts that long!
Red Velvet Poke Cake FAQs
I get asked about this cake all the time – here are the answers to the questions that pop up most often:
Q1. Can I use chocolate pudding instead of vanilla?
Absolutely! Chocolate pudding makes a delicious twist – I’ve done it with peppermint extract added for a holiday mint-chocolate version. Just keep the green food coloring for that festive look.
Q2. How long does this cake last in the fridge?
It stays wonderfully moist for about 3 days when covered well. The pudding actually helps preserve it! Just press plastic wrap directly onto the whipped topping to prevent drying.
Q3. Can I make this cake ahead for a party?
Yes! That’s one of my favorite things about it. Make it the night before – the flavors blend even better after an overnight chill. Add fresh sprinkles right before serving if you want them extra crisp.
Q4. What if I don’t have a wooden spoon for poking holes?
No worries! The handle of a rubber spatula, a chopstick, or even the thick end of a meat thermometer works too. You just want holes about ¼-inch wide.
Q5. Can I use homemade red velvet cake instead of a mix?
Of course! Use your favorite from-scratch recipe baked in a 9×13 pan. The box mix just makes it extra easy during busy holidays.
Nutritional Information
Here’s the scoop on what’s in each delicious slice (but remember, these are estimates – exact numbers depend on your specific ingredients): One serving has about 320 calories, 25g sugar, and 12g fat. It’s definitely a special occasion treat! For precise numbers, check the labels on your cake mix and pudding boxes.
Share Your Holiday Creation!
I’d love to see your festive masterpiece! Snap a photo of your red velvet poke cake and tag me – I live for those sprinkle-covered, pudding-soaked holiday creations. Did you put your own spin on it? Tell me in the comments below! Nothing makes me happier than seeing this recipe become part of your family traditions too.
Print1 Irresistible Red Velvet Poke Cake for Holiday Bliss

A festive and easy-to-make red velvet poke cake, perfect for Christmas and holiday celebrations. The cake is soaked with vanilla pudding and topped with whipped cream and holiday sprinkles.
- Prep Time: 10 minutes
- Cook Time: 20 minutes
- Total Time: 1 hour 30 minutes
- Yield: 12 servings 1x
- Category: Dessert
- Method: Baking
- Cuisine: American
- Diet: Vegetarian
Ingredients
- 1 box red velvet cake mix (plus eggs, oil, water as directed)
- 1 (14 oz) can sweetened condensed milk
- 1 (3.4 oz) box instant vanilla pudding mix
- 2 cups cold milk
- Red and green food coloring (gel or liquid)
- 8 oz whipped topping (like Cool Whip), thawed
- Holiday sprinkles (red, green, white)
Instructions
- Bake the cake according to box instructions in a 9×13-inch pan. Let cool slightly.
- Poke holes all over the cake using the handle of a wooden spoon.
- Whisk pudding mix with cold milk until slightly thickened. Add green food coloring, then pour over the cake, letting it soak into the holes.
- Spread whipped topping evenly over the cake.
- Sprinkle with holiday sprinkles. Chill for at least 1 hour before serving.
Notes
- Use gel food coloring for vibrant colors.
- Chilling the cake ensures the best texture.
- Customize sprinkles to match your holiday theme.
Nutrition
- Serving Size: 1 slice
- Calories: 320
- Sugar: 25g
- Sodium: 300mg
- Fat: 12g
- Saturated Fat: 5g
- Unsaturated Fat: 6g
- Trans Fat: 0g
- Carbohydrates: 45g
- Fiber: 1g
- Protein: 4g
- Cholesterol: 30mg