
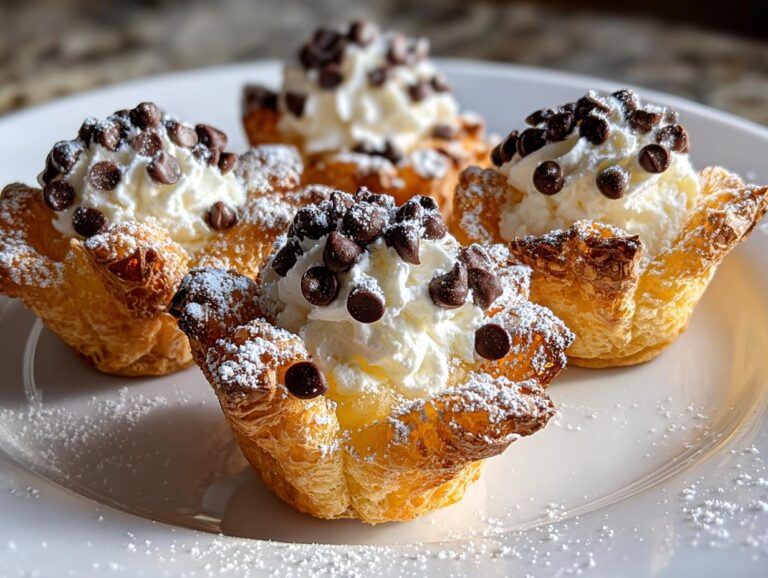
Oh my gosh, let me tell you about my latest obsession—Mini Cannoli Cups! Picture this: all the creamy, dreamy goodness of traditional cannoli, but in adorable little bite-sized packages that are ridiculously easy to make. No deep-frying, no fuss—just crispy puff pastry shells filled with that luscious ricotta-mascarpone filling we all love. I first made these for my niece’s birthday party last summer, and they disappeared so fast I barely got one myself. Now they’re my go-to whenever I need a dessert that looks fancy but comes together in minutes. Trust me, once you try these, you’ll be hooked just like me.
Why You’ll Love These Mini Cannoli Cups
Seriously, what’s not to love? These mini cannoli cups take all the hassle out of traditional cannoli while keeping every bit of that irresistible flavor. Here’s why they’re my absolute favorite party trick:
- No frying needed – Forget messy oil splatters! We’re using puff pastry that bakes up perfectly crisp in your oven
- Ready in under 30 minutes – From fridge to table faster than you can say “dolce vita”
- That dreamy creamy filling – The ricotta and mascarpone combo is so lush, you’ll want to eat it with a spoon (no judgment if you do)
- Perfect for sharing – No plates or forks needed, just grab and go. Party perfection!
- Endlessly customizable – Add citrus zest, swap chocolate chips for nuts, or dust with cocoa powder
Honestly, I make these so often now that my friends think I’ve got some fancy pastry chef training. Our little secret – it’s actually one of the easiest desserts in my rotation!
Ingredients for Mini Cannoli Cups
Okay, let’s talk ingredients – and I promise, nothing too fancy here! Everything you need for these little bites of heaven is probably already in your kitchen or easy to find. I like to separate them into two groups: the crispy shells and that luscious filling we can’t get enough of.
For the shells:
- 1 sheet puff pastry, thawed (I always keep a box in my freezer for emergencies!)
- Cooking spray or butter for greasing your muffin tin
- Powdered sugar for dusting (because everything’s better with a snowy finish)
For the filling:
- 1 cup ricotta cheese, well-drained (this is crucial – I’ll explain why below)
- ½ cup mascarpone cheese (optional but oh-so-worth it)
- ⅓ cup powdered sugar (or more to taste – I won’t tell if you sneak in an extra tablespoon)
- ½ tsp vanilla extract (the good stuff makes all the difference)
- ¼ cup mini chocolate chips (regular-sized will work in a pinch)
- Optional: zest of ½ orange or lemon for a bright little kick
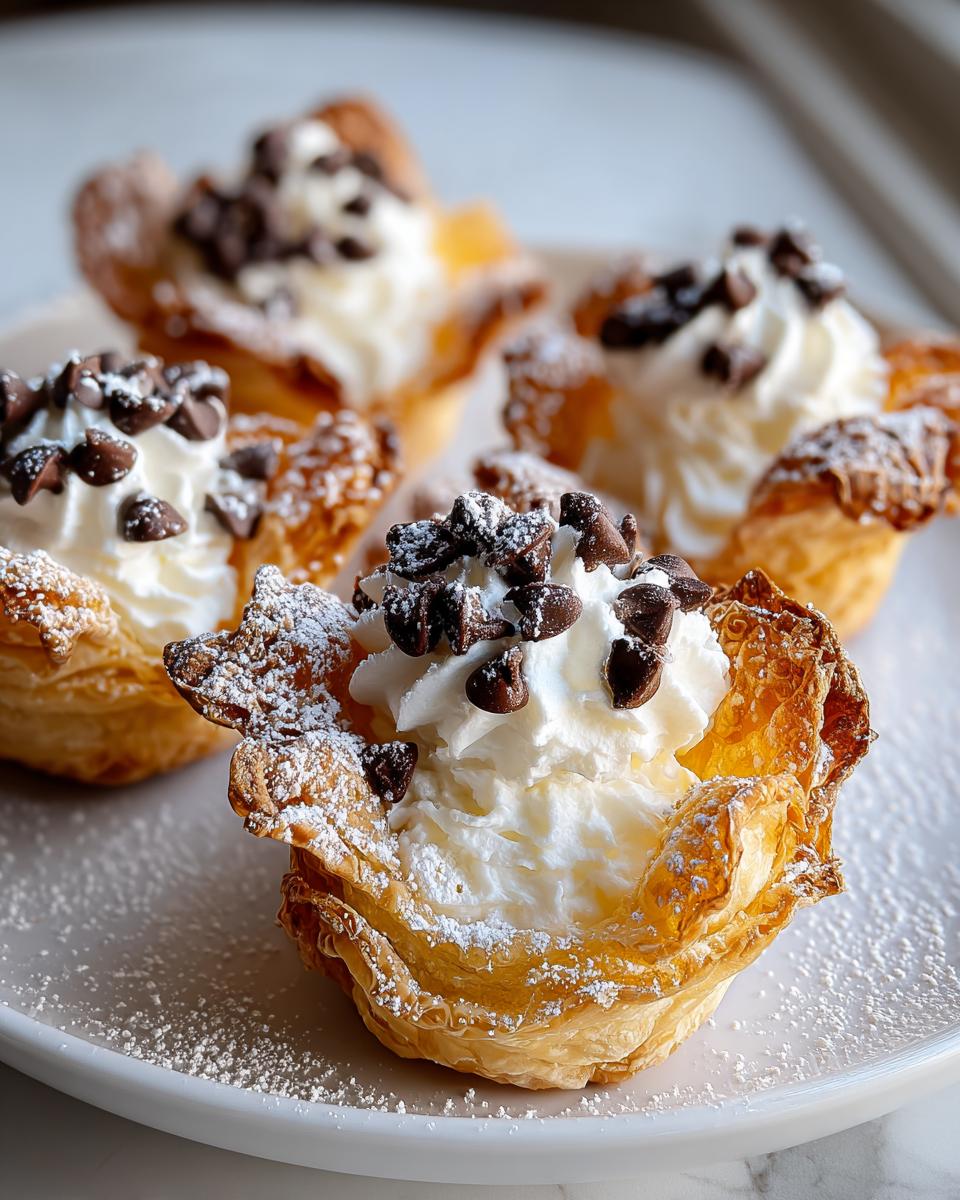
Ingredient Substitutions & Notes
Now, let’s talk swaps! Don’t have ricotta? Cottage cheese (blended smooth) can work in a pinch, though the texture will be slightly different. If mascarpone isn’t in your budget, you can skip it – the filling will just be a tad less rich.
Here’s my biggest tip: drain that ricotta well! I line a strainer with cheesecloth and let it sit for at least 30 minutes. Wet ricotta = soggy shells = sad dessert. Trust me, I learned this the hard way at my first attempt when my cannoli cups turned into cannoli soup!
How to Make Mini Cannoli Cups
Alright, let’s get to the fun part – making these little bites of heaven! I promise it’s easier than you think, and the results will make you feel like a pastry pro. We’ll break it down into three simple steps that even my 10-year-old niece can handle (she helps me make these all the time now!).
Preparing the Puff Pastry Shells
First things first – preheat that oven to 375°F (190°C). While it’s heating up, grab your thawed puff pastry sheet (pro tip: let it thaw in the fridge overnight for easiest handling). Lightly flour your surface and roll it out just enough to smooth any creases – we’re not trying to make it bigger, just even.
Now, here’s where the magic happens: cut the pastry into 12 perfect little 3×3-inch squares. Don’t stress if they’re not perfectly exact – mine never are! Grease your muffin tin well (I use butter because, well, butter makes everything better) and gently press each square into a cup. They’ll look too big at first, but trust me, they’ll puff up beautifully. Bake for 12-15 minutes until they’re golden brown and crisp – you’ll know they’re ready when they’ve got that perfect golden glow.
Making the Ricotta Filling
While those shells are baking and making your kitchen smell amazing, let’s whip up that dreamy filling. Remember that well-drained ricotta we talked about? Now’s its time to shine! In a medium bowl, beat together the ricotta, mascarpone (if using), powdered sugar, and vanilla until it’s smooth as silk. No lumps allowed!
Here’s my favorite part – gently fold in those mini chocolate chips. The key word is gently – we want to keep those little chips whole and perfect. If you’re feeling fancy, now’s the time to add that citrus zest too. Pop the whole mixture in the fridge for about 20 minutes to let the flavors get to know each other. This chilling time makes the filling easier to work with too.
Assembling the Mini Cannoli Cups
By now, your shells should be cooled and ready for their creamy filling. You’ve got options here – for a fancy look, pipe the filling in using a pastry bag (I use a simple zip-top bag with the corner snipped off when I’m feeling lazy). Or just spoon it in – no one will complain either way!
Top with extra mini chocolate chips because, well, more chocolate is always better, right? Finish with a generous dusting of powdered sugar – I like to use a small sieve for that perfect snowy effect. These are best served right away, but if you need to prep ahead, they’ll keep beautifully in the fridge for a couple hours. Just add the final dusting of sugar right before serving.
Watch out though – these disappear fast! Last time I made them for book club, I turned around and half were gone before I even got to try one. Not that I’m bitter or anything…
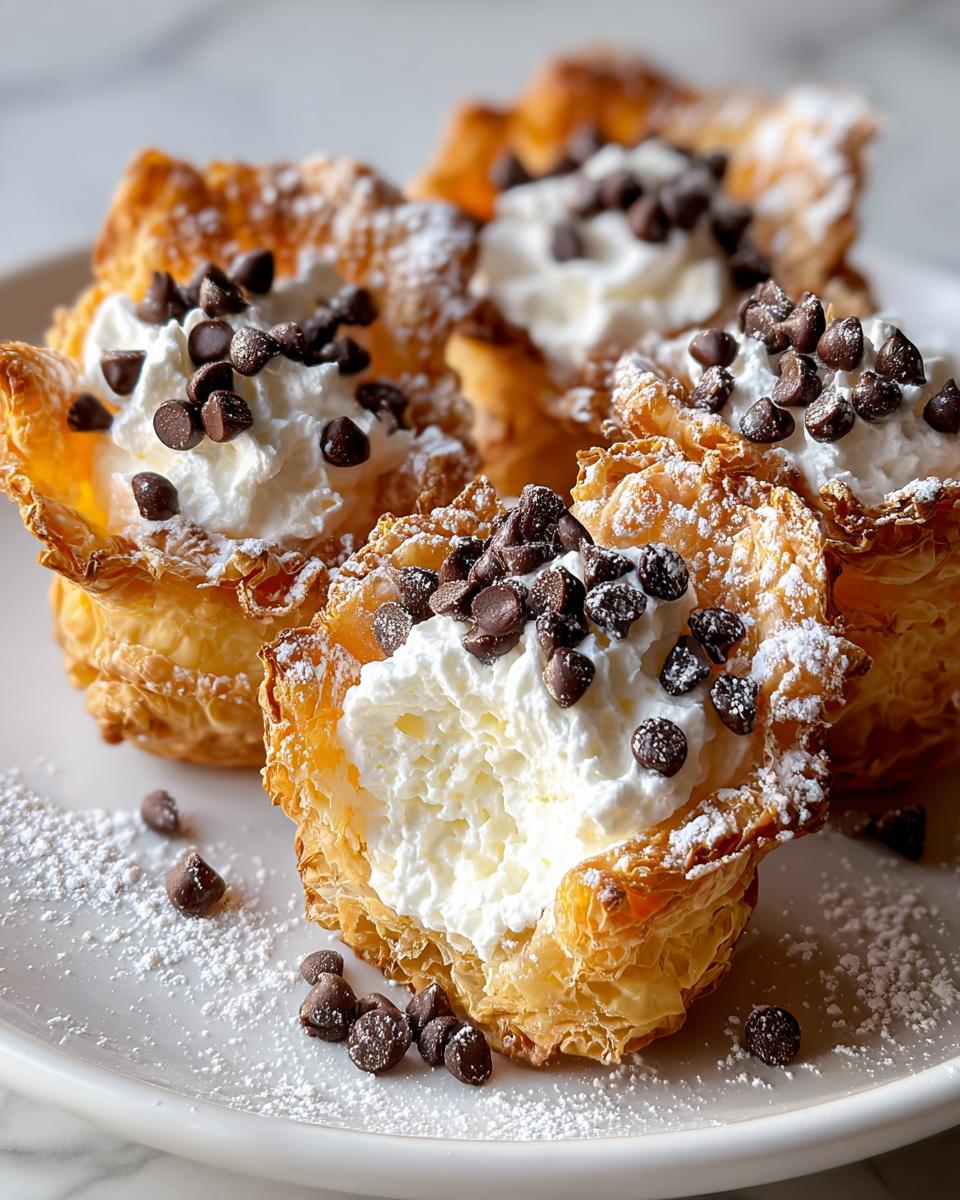
Tips for Perfect Mini Cannoli Cups
After making these more times than I can count (and learning from my fair share of mistakes), I’ve picked up some foolproof tricks to guarantee perfect cannoli cups every single time:
- Dry those shells! Let the baked pastry cups cool completely in the pan before filling – any lingering steam will turn them soggy. I sometimes even pop them back in the turned-off oven for 5 minutes to crisp up.
- Taste as you go with the filling. Want it sweeter? Add powdered sugar a tablespoon at a time. Prefer more vanilla? Go for it! This is your dessert – make it your way.
- Storage smarts: Keep unfilled shells in an airtight container for up to 2 days (they’ll lose some crispness but still taste amazing). Always store filled cups in the fridge, but never more than a few hours before serving.
- Last-minute assembly is key for maximum crunch. Fill them no more than 30 minutes before serving if you can resist!
Oh, and here’s my secret weapon – a light brush of melted chocolate inside each shell before filling creates a moisture barrier that keeps them crisp longer. You’re welcome!
Mini Cannoli Cups Variations
One of my favorite things about these little cups is how easily you can mix them up! Sometimes I swap the vanilla for almond extract—just a splash gives this amazing marzipan-like flavor. Feeling fancy? Try a dusting of cocoa powder instead of powdered sugar, or top with fresh raspberries for a gorgeous pop of color. My friend Gina adds a pinch of cinnamon to her filling, and wow—it’s like Christmas in every bite! The best part? No matter what twist you try, these always feel special. Go wild and make them your own!
Serving & Storing Mini Cannoli Cups
Here’s the scoop on keeping these little gems perfect! Serve them immediately for maximum crispness – that puff pastry shell crunch is everything. If you must store them, refrigerate filled cups for up to 2 days (though they’re best within 4 hours). Pro tip: Never freeze them – the pastry turns soggy when thawed, and nobody wants a sad, limp cannoli cup. Always add that final powdered sugar dusting right before serving for that picture-perfect finish!
Mini Cannoli Cups Nutrition Information
Now, let’s talk numbers – but remember, these are just estimates (your results might vary slightly based on ingredient brands and how generous you are with those chocolate chips!). Each delightful mini cannoli cup packs about:
- 160 calories
- 10g fat (5g saturated)
- 15g carbs
- 4g protein
- 8g sugar
Not too bad for such an indulgent-tasting treat, right? Of course, I never actually count when I’m eating them – life’s too short!
FAQs About Mini Cannoli Cups
Can I use phyllo dough instead of puff pastry?
You bet! Phyllo works beautifully for an extra-crispy shell. Just layer 3-4 sheets per cup, brushing each with melted butter. They’ll bake faster though – keep an eye on them after 8 minutes!
How long do the shells stay crisp after filling?
Here’s the truth – they’re crispiest within the first hour. After that, the moisture from the ricotta filling starts softening the shells. My trick? Fill just before serving, or if prepping ahead, store shells and filling separately.
Can I make these dairy-free?
Absolutely! Swap ricotta for dairy-free cream cheese blended with a splash of almond milk until smooth. Use vegan puff pastry (many brands are accidentally vegan!) and dark chocolate chips.
What’s the best way to drain ricotta?
I line a fine mesh strainer with cheesecloth or paper towels, plop in the ricotta, and let it sit in the fridge for at least 30 minutes. The drier your ricotta, the better your filling will hold up!
Share Your Mini Cannoli Cups Creation
I’d love to see your version of these little treats! Tag me on Pinterest when you make them – nothing makes me happier than seeing your kitchen creations. Did you add your own twist? Tell me all about it in the comments!
PrintIrresistible 30-Minute Mini Cannoli Cups to Delight Guests

Mini Cannoli Cups Delight — crispy, creamy, and ready in minutes — dessert done right!
- Prep Time: 15 minutes
- Cook Time: 15 minutes
- Total Time: 30 minutes
- Yield: 12 cups 1x
- Category: Dessert
- Method: Baking
- Cuisine: Italian
- Diet: Vegetarian
Ingredients
- 1 sheet puff pastry, thawed
- Cooking spray or butter (for muffin tin)
- Powdered sugar (for dusting)
- 1 cup ricotta cheese (drained)
- ½ cup mascarpone cheese (optional for richness)
- ⅓ cup powdered sugar (more to taste)
- ½ tsp vanilla extract
- ¼ cup mini chocolate chips
- Optional: zest of ½ orange or lemon
- Extra mini chocolate chips
- Powdered sugar for garnish
Instructions
- Preheat oven to 375°F (190°C). Roll out puff pastry and cut into 3×3 inch squares. Press each into a greased muffin tin to form a cup. Bake for 12–15 minutes or until puffed and golden.
- In a bowl, mix ricotta, mascarpone (if using), powdered sugar, vanilla, and citrus zest. Fold in mini chocolate chips. Chill for 20 minutes.
- Once shells have cooled, pipe or spoon filling into each cup.
- Sprinkle with extra mini chocolate chips and a dusting of powdered sugar.
- Serve immediately or refrigerate until ready.
Notes
- For best results, drain ricotta well to avoid a watery filling.
- Mascarpone adds richness but can be omitted.
- Citrus zest enhances flavor but is optional.
Nutrition
- Serving Size: 1 cup
- Calories: 160
- Sugar: 8g
- Sodium: 50mg
- Fat: 10g
- Saturated Fat: 5g
- Unsaturated Fat: 4g
- Trans Fat: 0g
- Carbohydrates: 15g
- Fiber: 1g
- Protein: 4g
- Cholesterol: 15mg