
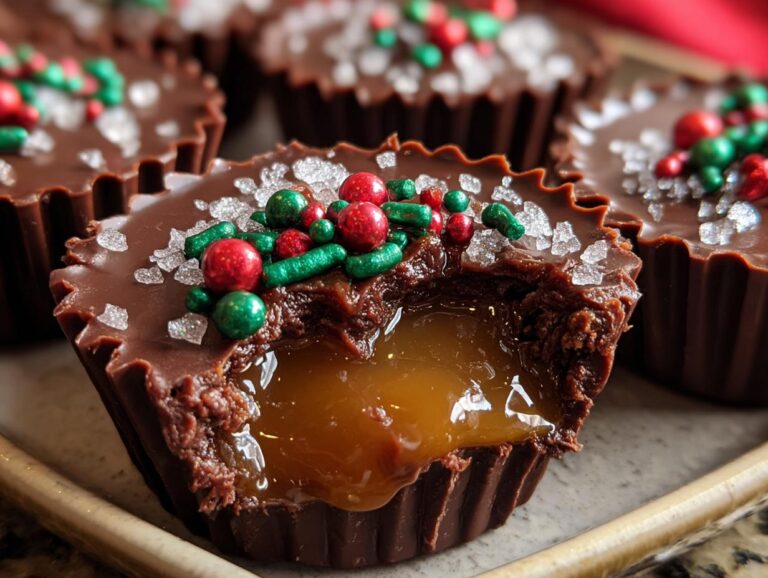
Every holiday season, my kitchen turns into a chocolate workshop, and these easy chocolate caramel cups are always the star of the show. Honestly, they’re so simple to make that I usually whip up a double batch—one for gifting, one for “quality control” (wink). There’s something magical about biting through that shiny chocolate shell into gooey caramel, especially when you’ve made them with your own hands. Last year, my niece declared them “better than store-bought,” which, coming from a 10-year-old candy connoisseur, is the highest praise. The best part? No oven required—just melt, fill, and sprinkle your way to holiday happiness.
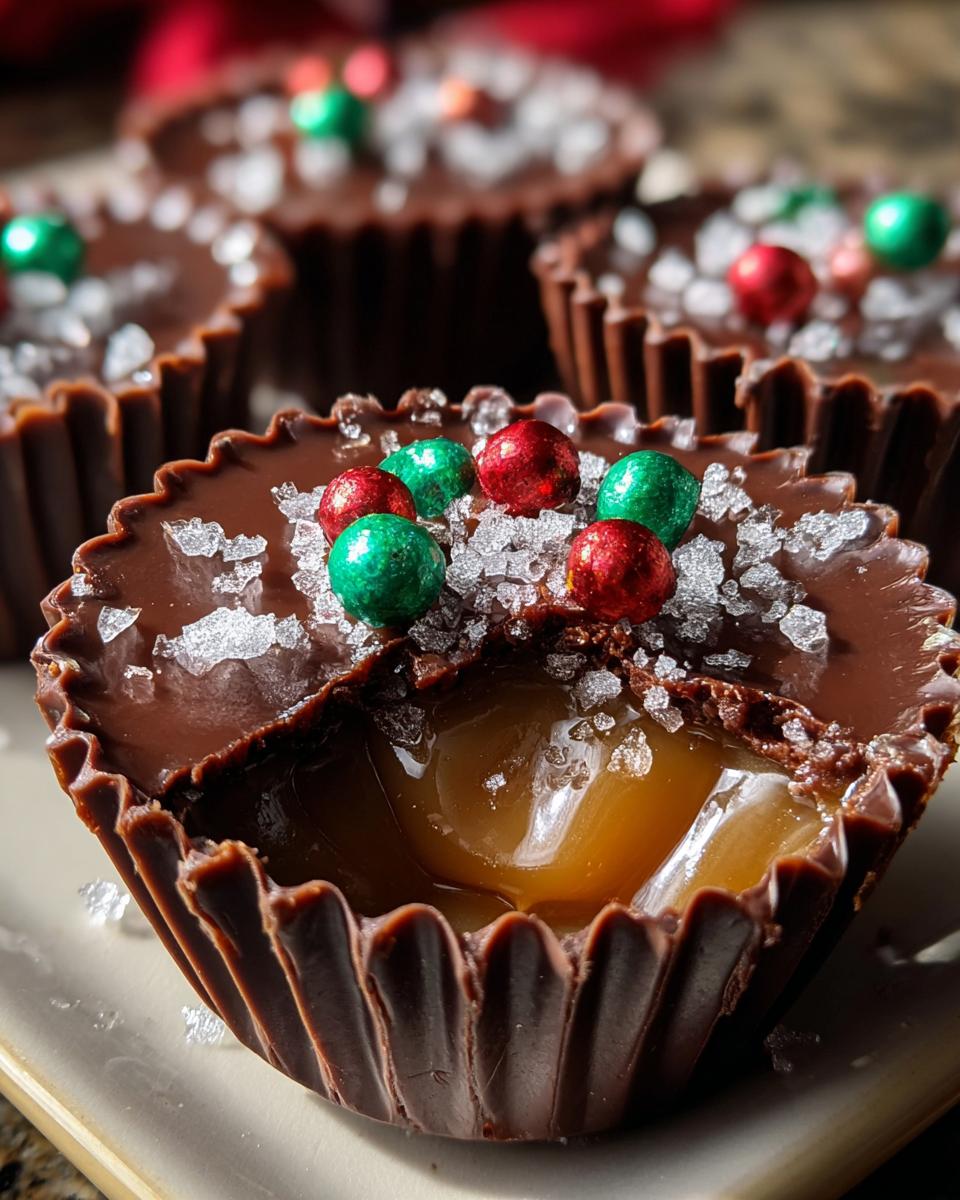
Ingredients for Chocolate Caramel Cups
Gathering the right ingredients makes all the difference with these little treats. You’ll need:
- 2 cups semi-sweet chocolate chips (I splurge on the good stuff)
- 1 tbsp coconut oil (the secret to that perfect snap!)
- 1/2 cup soft caramels, unwrapped (trust me, unwrapping them first saves time)
- 2 tbsp heavy cream (makes the caramel silky smooth)
- Holiday sprinkles (go wild with colors!)
- Flaky sea salt (don’t skip this – it’s magic)
- Mini cupcake liners (the non-stick kind work best)
Ingredient Substitutions
Out of something? No worries! Dairy-free chocolate chips work beautifully here. Swap heavy cream with coconut cream if needed – just warm it slightly first. Dark chocolate lovers (like me!) can use 70% cacao for a richer bite. The caramels? Soft store-bought squares work in a pinch, though homemade caramel sauce (thickened) is next-level amazing.
How to Make Chocolate Caramel Cups
Okay, let’s get messy (in the best way)! First, melt your chocolate chips with the coconut oil in 30-second bursts, stirring between each. This prevents scorching – I learned that the hard way when I once created chocolate charcoal (oops!). While that’s melting, line a mini muffin tin with those cute liners.
Now the fun part: spoon about 1 teaspoon of melted chocolate into each liner. Use the back of your spoon to swirl it up the sides – this creates that perfect little cup shape. Pop them in the freezer for exactly 5 minutes (set a timer – I’ve forgotten before and ended up with frozen fingers trying to pry them out!).
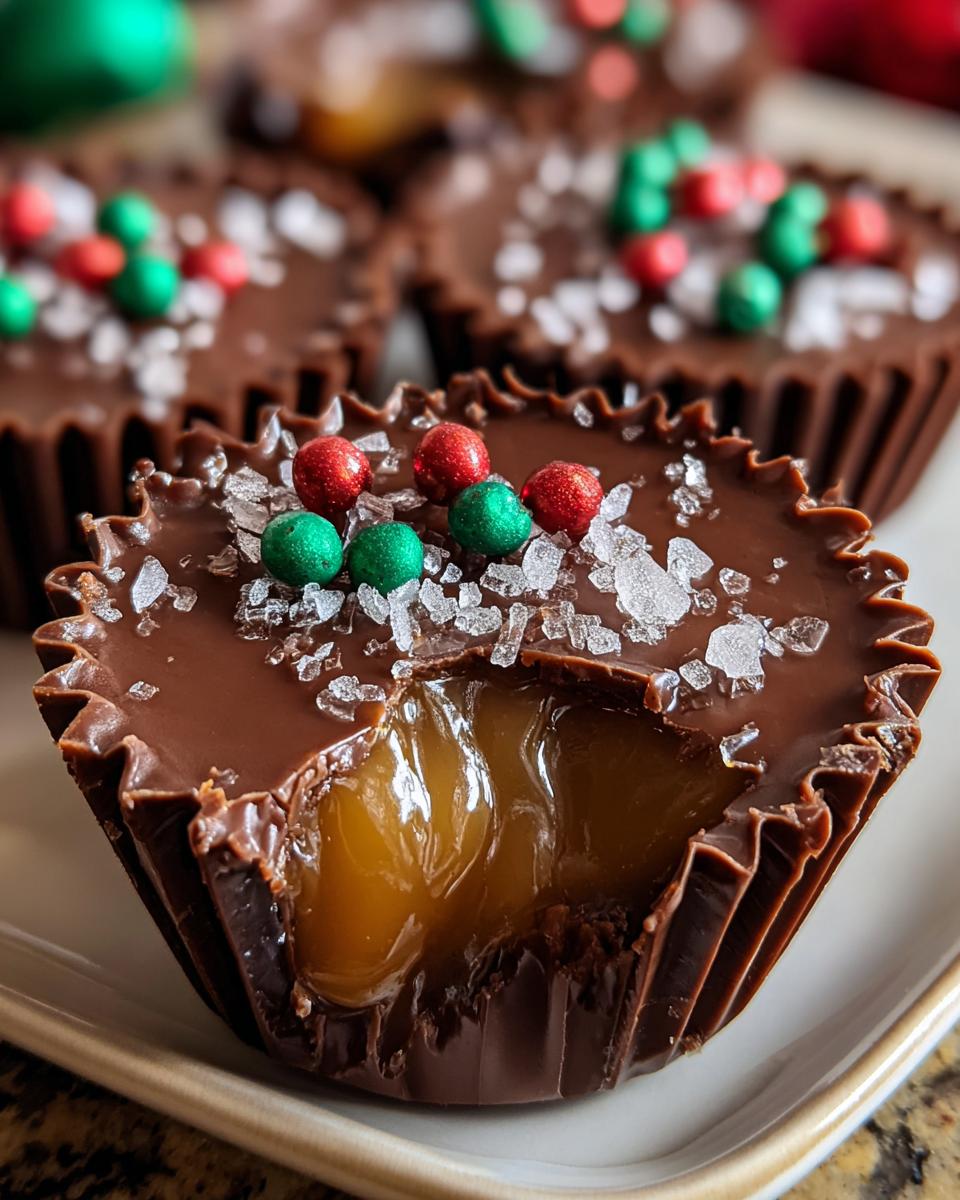
Meanwhile, melt your caramels with the heavy cream until it’s smooth as silk. When your chocolate shells are set, fill them halfway with caramel – don’t overfill or they’ll spill over! Top with another teaspoon of chocolate to seal the deal. Immediately add sprinkles and a tiny pinch of flaky salt (this is where kids love to help). Chill for 15-20 minutes until firm. The hardest part? Waiting to eat them!
Tips for Perfect Chocolate Caramel Cups
My biggest tip? Don’t rush the melting! Chocolate burns easily, so take those 30-second intervals seriously. If your caramel seems too thick, add just a splash more cream. For super neat layers, use a piping bag – or a ziplock with the corner snipped off in a pinch. And here’s my secret: run a knife around the liner edges after chilling for perfect release every time.
Decorating and Serving Suggestions
Oh, the decorating possibilities! I go absolutely wild with holiday sprinkles – think red and green jimmies, gold stars, or even crushed candy canes for that extra festive touch. That flaky sea salt isn’t just pretty, it makes the caramel pop! My favorite way to serve? Arrange them on a vintage cake stand with coffee for guests (the bitter brew cuts through the sweetness perfectly). For gifting, I stash them in little gold foil boxes tied with ribbon – they look so fancy, no one will believe they took just 35 minutes to make!
Storing and Freezing Chocolate Caramel Cups
These little guys keep beautifully in an airtight container at room temperature for about a week – if they last that long! For longer storage, freeze them in a single layer before transferring to a freezer bag. They’ll stay perfect for up to a month (though I’ve never managed to keep them around that long). Just thaw at room temperature for 10 minutes before serving – the caramel stays gloriously gooey!
Nutritional Information
Just so you know, these numbers are estimates – your exact counts might vary depending on the chocolate and caramel you use. Each little cup packs about 180 calories with 10g fat (6g saturated). Dark chocolate lovers, your version might have slightly less sugar but similar fat content. The sea salt and sprinkles? Practically calorie-free, but oh so worth it for that festive crunch!
FAQs About Chocolate Caramel Cups
Can I use milk chocolate instead of semi-sweet?
Absolutely! Milk chocolate makes these no-bake holiday sweets extra creamy. Just watch it closely while melting – it’s more delicate than dark chocolate. I sometimes do half milk, half dark for the best of both worlds.
How do I prevent sticking to the liners?
That 1 tbsp of coconut oil is your best friend here! Also, make sure your chocolate fully coats the liners before freezing. If they still stick, try parchment liners instead of standard ones.
Can kids help make these festive dessert ideas?
Oh my goodness, yes! My nieces love sprinkling the toppings. Just supervise the melting steps – we keep little fingers away from hot bowls. Unwrapping caramels becomes their favorite “job.”
Why does my caramel sometimes leak out?
Two tricks: 1) Make sure your first chocolate layer is completely set before adding caramel. 2) Don’t overfill – just a half teaspoon of caramel per cup is perfect. The second chocolate layer seals everything in beautifully.
Can I make these ahead for holiday parties?
You bet! These homemade chocolate gifts actually taste better after a day as the flavors meld. Just store them properly (see above) and they’ll be party-ready whenever you need them.
Share Your Chocolate Caramel Cups
I’d love to see your creations! Tag me @SweetTreatsWithSarah when you post photos – nothing makes me happier than seeing your holiday candy masterpieces! You can find more sweet inspiration on Pinterest.
Print35-Minute Chocolate Caramel Cups: Irresistibly Gooey Bliss
Easy homemade chocolate caramel cups perfect for holiday gifting or snacking.
- Prep Time: 15 minutes
- Cook Time: 0 minutes
- Total Time: 35 minutes
- Yield: 12 cups 1x
- Category: Dessert
- Method: No-Bake
- Cuisine: American
- Diet: Vegetarian
Ingredients
- 2 cups semi-sweet chocolate chips (or dark chocolate)
- 1 tbsp coconut oil
- 1/2 cup soft caramels, unwrapped
- 2 tbsp heavy cream
- Holiday sprinkles (red, green, white, gold)
- Flaky sea salt
- Mini cupcake liners
Instructions
- Melt chocolate chips with coconut oil in 30-second bursts until smooth.
- Spoon melted chocolate into mini liners and swirl to coat. Freeze for 5 minutes.
- Melt caramels with heavy cream until smooth.
- Fill chocolate shells with caramel and top with more melted chocolate.
- Sprinkle with holiday sprinkles and sea salt. Chill for 15-20 minutes.
Notes
- Store in an airtight container for up to 1 week.
- Use high-quality chocolate for best results.
- Adjust sweetness by using dark chocolate.
Nutrition
- Serving Size: 1 cup
- Calories: 180
- Sugar: 15g
- Sodium: 50mg
- Fat: 10g
- Saturated Fat: 6g
- Unsaturated Fat: 3g
- Trans Fat: 0g
- Carbohydrates: 20g
- Fiber: 2g
- Protein: 2g
- Cholesterol: 5mg