
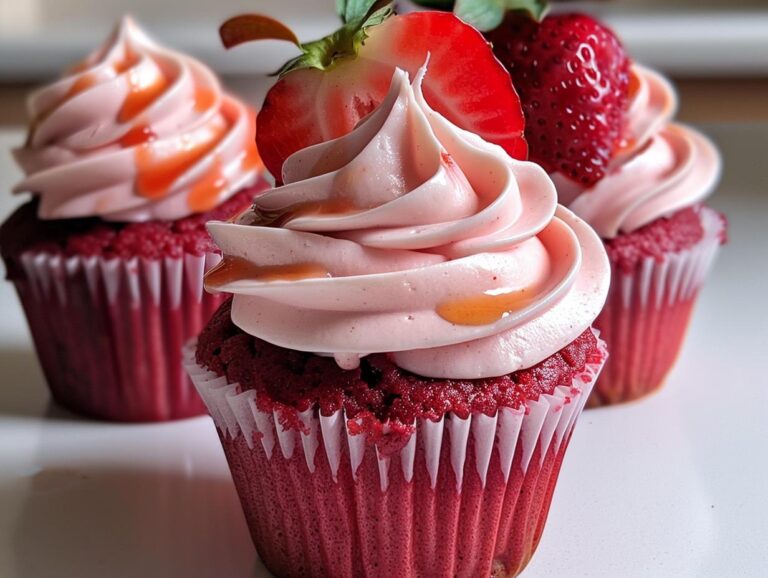
There’s something magical about pulling a batch of red velvet cupcakes from the oven – that deep crimson color just screams romance! I first made these beauties for my husband on our third date (he proposed six months later – coincidence? I think not). This red velvet cupcake recipe has become my go-to for Valentine’s Day, anniversaries, or just when I want to say “I love you” with dessert.
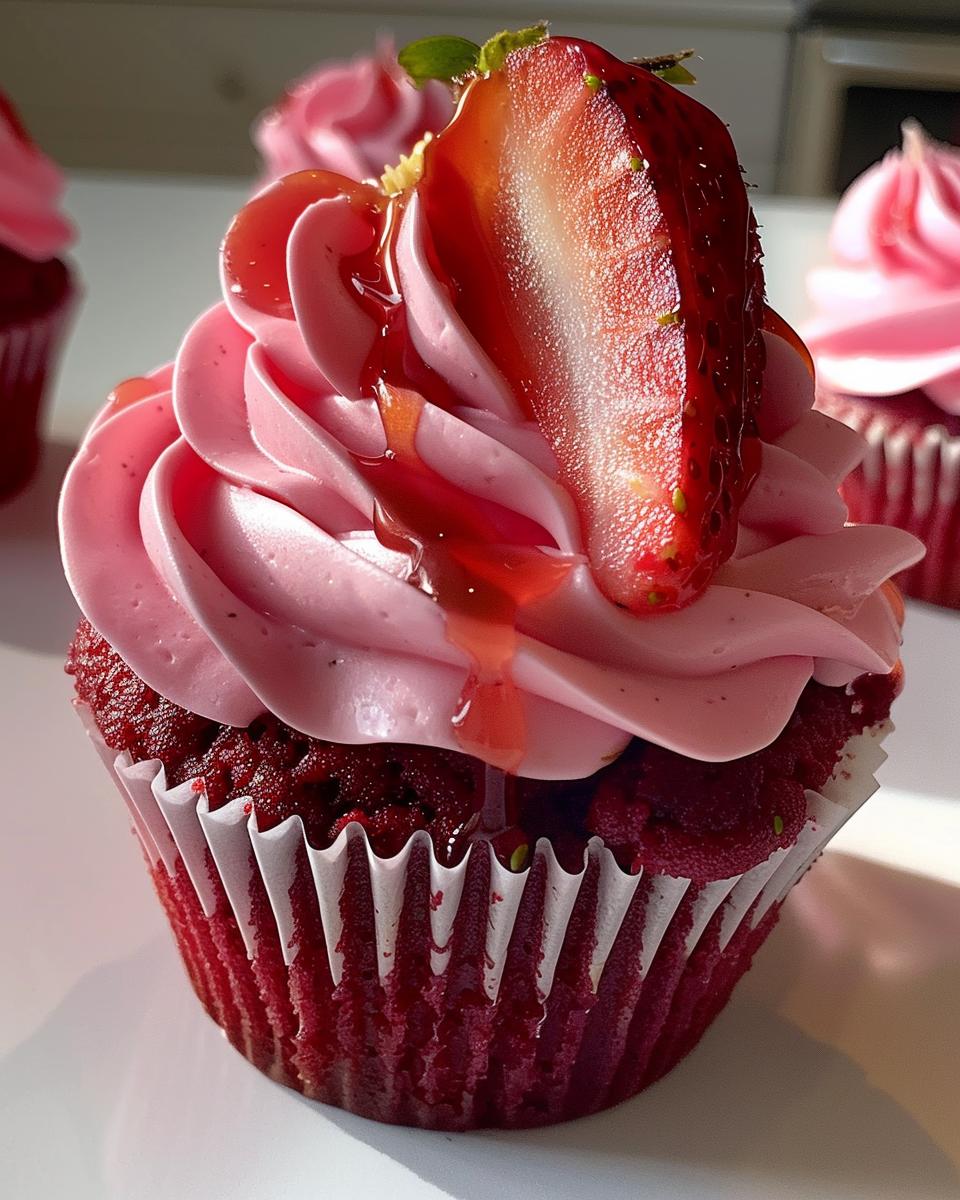
The secret’s in the perfect balance – just enough cocoa to whisper “chocolate” without overpowering, buttermilk for that signature tang, and yes, plenty of red food coloring because we eat with our eyes first. Top them with fluffy pink buttercream and a fresh strawberry, and you’ve got a dessert that looks as dreamy as it tastes.
Why You’ll Love This Red Velvet Cupcake Recipe
Oh, where do I even start? These cupcakes are my little love bombs of the baking world, and here’s why they’ll steal your heart too:
- That perfect crumb – So moist it practically melts in your mouth, thanks to the buttermilk and vinegar combo that keeps them tender for days
- Instant romance – The dramatic red hue paired with soft pink frosting is basically edible poetry (perfect for date nights or Galentine’s celebrations)
- Foolproof magic – My secret? Vinegar reacts with the baking soda to give these babies the most beautiful rise – no fancy skills needed
- Customizable cuteness – Top with strawberries for freshness, chocolate shavings for decadence, or edible glitter for pure celebration
Trust me, one bite and you’ll understand why I’ve made these for every romantic occasion (and let’s be honest, many “just because” Tuesdays) for the past decade!
Ingredients for Red Velvet Cupcakes
Gathering the right ingredients is half the battle when making these showstopper cupcakes! I’ve learned through trial and error (and a few pink-frosted disasters) that quality matters here. Let’s break it down so your cupcakes turn out perfect every time.
For the Cupcakes
These are the building blocks for that iconic red velvet flavor and texture:
- 1 ¼ cups all-purpose flour – Spoon and level it, friends! Packed flour leads to dense cupcakes
- 1 tbsp cocoa powder – Just enough for that mysterious chocolate whisper
- ½ tsp baking soda – Our rising agent that reacts beautifully with the vinegar
- ¼ tsp salt – Balances all that sweetness
- ½ cup unsalted butter, softened – Leave it out for 30 minutes – it should dent when pressed but not melt
- ¾ cup granulated sugar – For that perfect sweetness level
- 1 large egg – Room temperature blends better
- 1 tsp vanilla extract – The good stuff, please!
- 1 tsp white vinegar – Secret weapon for tender crumb
- ½ cup buttermilk – No substitutes here – it makes all the difference
- 1 tbsp red food coloring – Gel gives the richest color (liquid makes them pinkish)
For the Pink Buttercream Frosting
This dreamy frosting is easier than you think to make from scratch:
- 1 cup unsalted butter, softened – Same rule as above – soft but not oily
- 3 cups powdered sugar – Sift if yours is lumpy
- 2–3 tbsp heavy cream or milk – Add gradually for perfect consistency
- 1 tsp vanilla extract – The flavor backbone
- Pink gel food coloring – Start with a toothpick dip and add more as needed
- Optional: strawberry syrup + fresh strawberries – For that gorgeous finishing touch
Pro tip: Measure everything before you start mixing – it makes the process so much smoother when you’re in the baking zone!
How to Make Red Velvet Cupcakes
Okay, let’s get our hands dirty (well, red-stained at least)! Making these beauties is easier than you’d think – I’ve streamlined the process so even beginner bakers can nail it. Just follow these steps and you’ll have cupcakes worthy of a romantic comedy finale scene.
Preparing the Batter
First things first – preheat that oven to 350°F (175°C). Trust me, you don’t want to realize it’s not hot enough when your batter’s ready to go!
Now, grab two bowls – one for dry, one for wet ingredients. In the first bowl, whisk together your flour, cocoa powder, baking soda, and salt. I like to sift mine through a fine mesh strainer to avoid any lumps – it makes the cupcakes extra tender.
In your mixing bowl, beat the softened butter and sugar until it’s light and fluffy – about 2 minutes with a hand mixer. This step is crucial! You’ll know it’s ready when the mixture turns pale yellow and looks almost like whipped cream.
Add the egg and vanilla, mixing until just combined. Then comes the fun part – pour in that vibrant red food coloring and the vinegar. The batter will turn the most gorgeous crimson color – it still makes me gasp every time!
Here’s my alternating secret: Add 1/3 of the dry ingredients, mix until barely combined, then half the buttermilk. Repeat, ending with dry ingredients. Don’t overmix – a few flour streaks are fine! The batter should be thick but pourable.
Baking the Cupcakes
Line your muffin tin with cute cupcake liners – red or pink makes for extra festive presentation! Fill each liner about ⅔ full – I use an ice cream scoop for perfect portions. This leaves room for that beautiful dome to form.
Pop them in the oven and resist opening the door for at least 15 minutes! They’ll need 18-20 minutes total. Test with a toothpick – it should come out with just a few moist crumbs. The tops will spring back when lightly pressed.
Let them cool in the pan for 5 minutes, then transfer to a wire rack. Here’s where patience is key – they must be completely cool before frosting or you’ll have a pink puddle situation (learned that the hard way!).
Making the Pink Buttercream Frosting
While those beauties cool, let’s make that dreamy frosting. Whip the softened butter in your mixer for a good 3 minutes until it’s pale and fluffy – this makes all the difference in texture.
Gradually add the powdered sugar, about ½ cup at a time, with the mixer on low (unless you want a sugar tornado in your kitchen!). Once incorporated, add the vanilla and 1 tbsp of cream. Increase speed and beat until light and airy.
Now for the pink! Use gel coloring for the prettiest pastel shade – start with a toothpick amount and add more as needed. Too dark? Mix in more buttercream to lighten it.
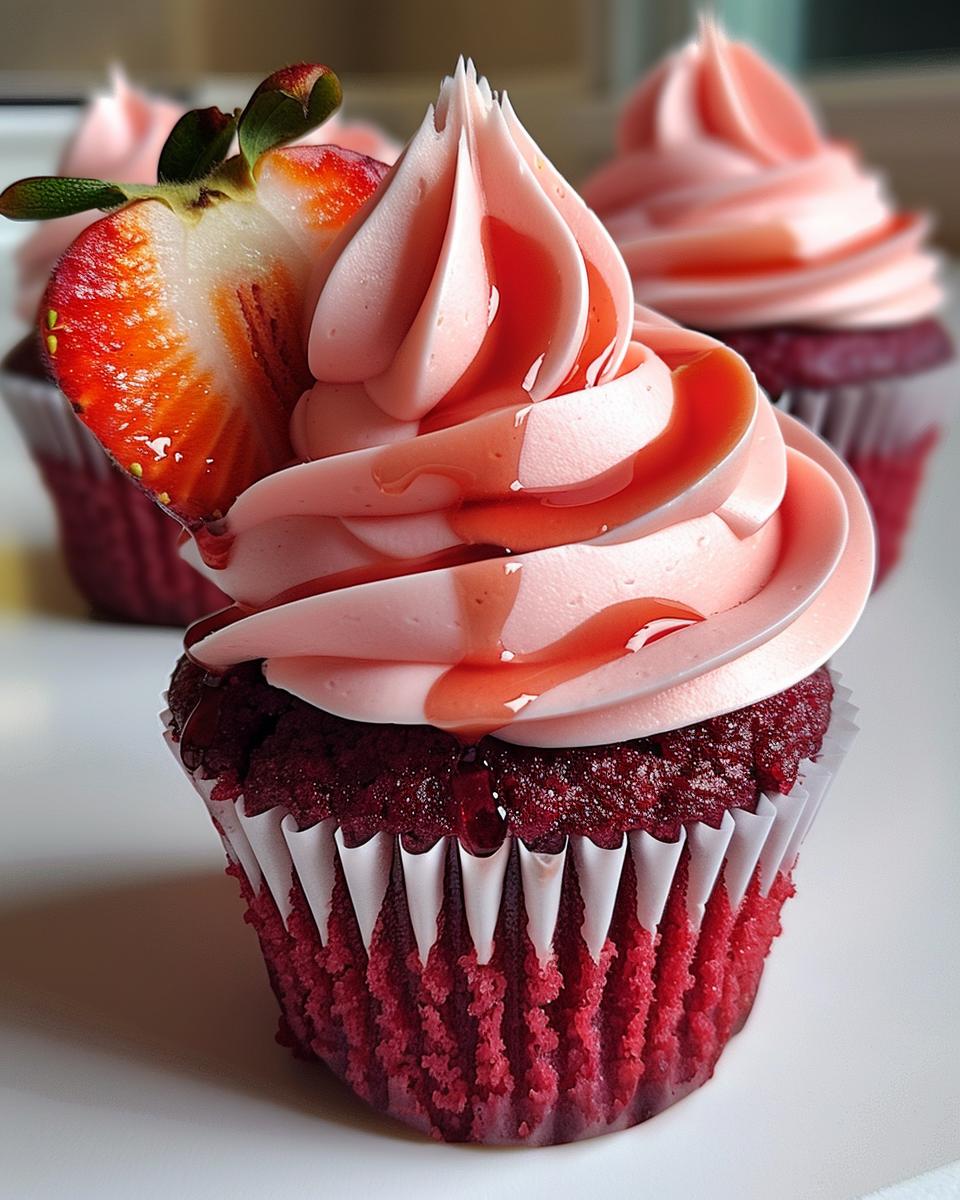
For piping, use a large star tip and swirl from the outside in. Top each with a fresh strawberry or drizzle of strawberry syrup while the frosting’s still soft. Voila – edible romance!
Tips for Perfect Red Velvet Cupcakes
After baking hundreds of these beauties (and yes, making plenty of mistakes along the way), I’ve learned all the little tricks that take red velvet cupcakes from good to “wow!” Here are my can’t-live-without tips:
Use gel food coloring – Trust me, the liquid stuff just won’t cut it! Gel gives that deep, dramatic red color we all love. Start with 1 tablespoon and add more if needed – the color deepens as it bakes.
Cool completely before frosting – I know it’s tempting, but warm cupcakes will melt your beautiful buttercream into a sad pink puddle. Wait at least 1 hour – I pop mine in the fridge to speed things up.
Measure flour correctly – Spoon it into your measuring cup and level it off. Packed flour leads to dense, dry cupcakes – and nobody wants that!
Room temperature ingredients – Take your butter, eggs, and buttermilk out at least 30 minutes before baking. They’ll blend together much smoother for that perfect velvety texture.
Don’t overmix! – Once you add the dry ingredients, mix just until combined. Overmixing develops gluten and makes cupcakes tough instead of tender.
Store properly – These keep beautifully in an airtight container at room temperature for 2 days, or refrigerate for up to 5 days. Bring to room temp before serving for best texture.
Freeze unfrosted – Want to bake ahead? Freeze cooled cupcakes (without frosting) for up to 3 months. Thaw at room temperature, then frost when ready to serve.
Variations for Your Red Velvet Cupcakes
One of my favorite things about this red velvet cupcake recipe is how easily you can dress it up or down for different occasions! Here are some of my go-to twists when I want to mix things up:
Cream cheese frosting lovers, rejoice! Simply swap the buttercream for equal parts cream cheese and butter (I do ½ cup each), then add powdered sugar to taste. The tangy cream cheese pairs perfectly with the subtle cocoa flavor – my husband’s absolute favorite version.
Chocolate drizzle magic: Melt some dark chocolate with a splash of cream and zigzag it over the pink buttercream for a dramatic contrast. Bonus points if you add gold sprinkles for New Year’s Eve!
Berry bliss: In summer, I skip the strawberry and pile high with fresh raspberries or blackberries. The tartness cuts through the sweetness beautifully.
Minty fresh: Add a drop of peppermint extract to the frosting and top with crushed candy canes for holiday versions. The red and white looks so festive!
Southern style: My grandma’s trick – add chopped pecans to the batter and sprinkle more on top of the frosting. The crunch takes these to another level.
The possibilities are endless! I’ve even done mini versions with white chocolate ganache for wedding showers. Remember – the base recipe is your canvas, so have fun painting with flavors!
Serving Suggestions for Red Velvet Cupcakes
Now that you’ve made these gorgeous red velvet cupcakes, let’s talk about how to serve them for maximum romance factor! I’ve hosted countless date nights and Galentine’s parties, and these are my favorite ways to make them shine:
Champagne pairing: There’s something magical about pink bubbles with pink frosting. The crisp acidity cuts through the sweetness perfectly – my go-to for anniversaries and Valentine’s Day. Pro tip: Use coupe glasses for extra old-school glam!
Coffee date perfection: A rich espresso or creamy latte makes these cupcakes sing at brunch. The bitterness balances the sugar while keeping the vibe cozy and intimate – just add a blanket fort for bonus points.
Berry bouquet: Arrange the cupcakes on a platter with fresh strawberries, raspberries, and edible flowers. The colors pop against the red velvet, and guests can mix and match flavors. Perfect for bridal showers!
Ice cream sandwich surprise: Slice cupcakes horizontally and sandwich with vanilla bean ice cream – the cold creaminess against the soft cake is divine. My husband’s favorite midnight snack (don’t tell our nutritionist!).
However you serve them, these beauties always spark joy. Just watch how fast hands reach for seconds when you bring out the tray – I always make extras because they disappear like magic!
Storing and Reheating Red Velvet Cupcakes
Okay, let’s talk cupcake survival tactics! Because let’s be real – you might actually have leftovers (though in my house, that’s rare). Here’s how to keep your red velvet cupcakes as fresh as the day you baked them:
The golden rule: Store them in an airtight container at room temperature for up to 2 days or in the fridge for 5 days. I swear by those cute cake carriers with the locking lids – they’ve saved many a cupcake from going stale in my kitchen!
Frosting first aid: If you’ve already frosted them, lay a sheet of parchment paper over the buttercream before sealing the container. This prevents the lid from smushing your beautiful swirls. Learned this after ruining a batch meant for my mom’s birthday – oops!
Freezer magic: Want to bake ahead? Freeze the unfrosted cupcakes in a single layer, then transfer to freezer bags once solid. They’ll keep for 3 months! When ready to serve, thaw overnight in the fridge, then bring to room temperature before frosting. The texture stays perfect – no one will guess they weren’t fresh-baked.
Reheating? Think twice! I don’t recommend microwaving frosted cupcakes – you’ll end up with melty pink soup (been there, cried over that). If you must warm them, 10 seconds max for unfrosted ones, but honestly, they’re best at room temp where that velvety texture really shines.
Pro tip from my many cupcake experiments: The strawberry topping should be added right before serving to keep it fresh. Nothing sadder than a soggy berry on what was once a perfect cupcake!
Nutritional Information for Red Velvet Cupcakes
Okay, let’s be real – we’re not eating red velvet cupcakes for their health benefits! But I know some of you like to keep track (or need to justify that second cupcake), so here’s the nutritional breakdown per cupcake with frosting:
- Calories: About 360 (worth every single one!)
- Fat: 18g (mostly from that glorious butter)
- Saturated Fat: 11g (the good stuff that makes frosting so dreamy)
- Carbs: 45g (hello, sugar rush!)
- Fiber: 1g (hey, cocoa powder counts, right?)
- Protein: 3g (egg power!)
- Sodium: 150mg (not bad for a dessert)
Now, here’s my baker’s disclaimer – these numbers can vary based on how much frosting you pile on (no judgment if yours are more like frosting mountains!), whether you add strawberry toppings, or if you swap ingredients. The buttermilk adds a bit of calcium, and those fresh strawberries on top? That’s basically a health food in my book!
Remember, life’s too short to stress over cupcake calories – savor every romantic, velvety bite!
Frequently Asked Questions About Red Velvet Cupcakes
After years of baking these beauties (and fielding texts from panicked friends mid-baking), I’ve answered every red velvet cupcake question under the sun! Here are the ones I get asked most – consider this your cupcake emergency hotline.
Can I Use Natural Food Coloring?
Oh honey, I’ve tried every natural red food coloring alternative out there – beet powder, pomegranate juice, you name it! Here’s the real deal: while natural options work in a pinch, they’ll give you more of a pinkish-brown than that signature red velvet crimson. Gel coloring truly works best for that dramatic red hue (I like Americolor Super Red). But if you’re set on natural, mix 1 tbsp beet powder with the wet ingredients – just know the color fades during baking!
How Do I Prevent Dry Cupcakes?
Nothing breaks my heart more than dry cupcakes! The biggest culprits? Overbaking and overmixing. Set that timer for 18 minutes and check early – they continue cooking as they cool. And when mixing, stop as soon as the flour disappears – no need to beat it to death! Also, measure your flour correctly (spoon and level, don’t scoop!) and don’t skip the buttermilk. That tangy magic keeps them moist for days.
Can I Freeze These Cupcakes?
Absolutely! But here’s my hard-learned lesson: freeze them before frosting. Wrap cooled, unfrosted cupcakes tightly in plastic wrap, then pop them in freezer bags for up to 3 months. When you’re ready to serve, thaw overnight in the fridge, then bring to room temperature before frosting. They taste just-baked this way! Frosted cupcakes can technically freeze, but the buttercream gets weepy – not worth it for pretty date night desserts.
Follow Homey Dishes on Pinterest for more recipes!
PrintIrresistible 3-Step Red Velvet Cupcake Recipe That’ll Steal Hearts
A romantic and visually stunning dessert perfect for date nights or Valentine’s Day. These moist red velvet cupcakes are topped with pink buttercream frosting and fresh strawberries.
- Prep Time: 20 minutes
- Cook Time: 20 minutes
- Total Time: 40 minutes
- Yield: 12 cupcakes 1x
- Category: Dessert
- Method: Baking
- Cuisine: American
- Diet: Vegetarian
Ingredients
- 1 ¼ cups all-purpose flour
- 1 tbsp cocoa powder
- ½ tsp baking soda
- ¼ tsp salt
- ½ cup unsalted butter (softened)
- ¾ cup granulated sugar
- 1 large egg
- 1 tsp vanilla extract
- 1 tsp white vinegar
- ½ cup buttermilk
- 1 tbsp red food coloring
- 1 cup unsalted butter (softened)
- 3 cups powdered sugar
- 2–3 tbsp heavy cream or milk
- 1 tsp vanilla extract
- Pink gel food coloring
- Optional: strawberry syrup + fresh strawberries for topping
Instructions
- Mix dry ingredients: Combine flour, cocoa powder, baking soda, and salt in a bowl.
- Cream butter and sugar: Beat butter and sugar until light and fluffy.
- Add wet ingredients: Add egg, vanilla, vinegar, and red food coloring. Alternate adding buttermilk and dry mix until smooth.
- Bake: Fill cupcake liners ⅔ full and bake at 350°F (175°C) for 18–20 mins. Let cool completely.
- Whip pink buttercream: Beat butter, powdered sugar, cream, and vanilla until fluffy. Add pink coloring and pipe over cupcakes. Top with syrup drizzle and fresh strawberries.
Notes
- For best results, use gel food coloring for vibrant colors.
- Let cupcakes cool completely before frosting to prevent melting.
- Store in an airtight container for up to 3 days.
Nutrition
- Serving Size: 1 cupcake
- Calories: 360
- Sugar: 30g
- Sodium: 150mg
- Fat: 18g
- Saturated Fat: 11g
- Unsaturated Fat: 5g
- Trans Fat: 0g
- Carbohydrates: 45g
- Fiber: 1g
- Protein: 3g
- Cholesterol: 60mg