

Oh, the magic of peppermint snowball cookies! Every December, my kitchen transforms into a winter wonderland dusted with powdered sugar and the refreshing scent of crushed candy canes. These melt-in-your-mouth gems have been my go-to holiday treat since I first helped my mom roll them in snowy sugar as a kid. There’s something utterly delightful about that moment when the crisp peppermint shell gives way to a buttery, tender center. I’ve made hundreds of batches over the years – for cookie swaps, teacher gifts, and those late-night cravings when only something minty and sweet will do. Trust me, one bite of these festive cookies and you’ll understand why they disappear faster than wrapping paper on Christmas morning!
Why You’ll Love These Peppermint Snowball Cookies
These cookies aren’t just delicious – they’re practically holiday magic in cookie form! Let me tell you why they’ve become my must-make every December:
- Easy as can be: No fancy equipment needed – just a bowl, spoon, and your hands
- Instant holiday cheer: That snowy powdered sugar coating makes them look straight out of a Christmas card
- Perfect texture: They literally melt in your mouth with that crisp-but-tender bite
- Festive flavor pop: The peppermint wakes up your taste buds better than a winter breeze
- Great for gifting: Everyone goes crazy for these – trust me, I’ve seen grown adults fight over the last cookie
Honestly, the hardest part is keeping them around long enough to share!
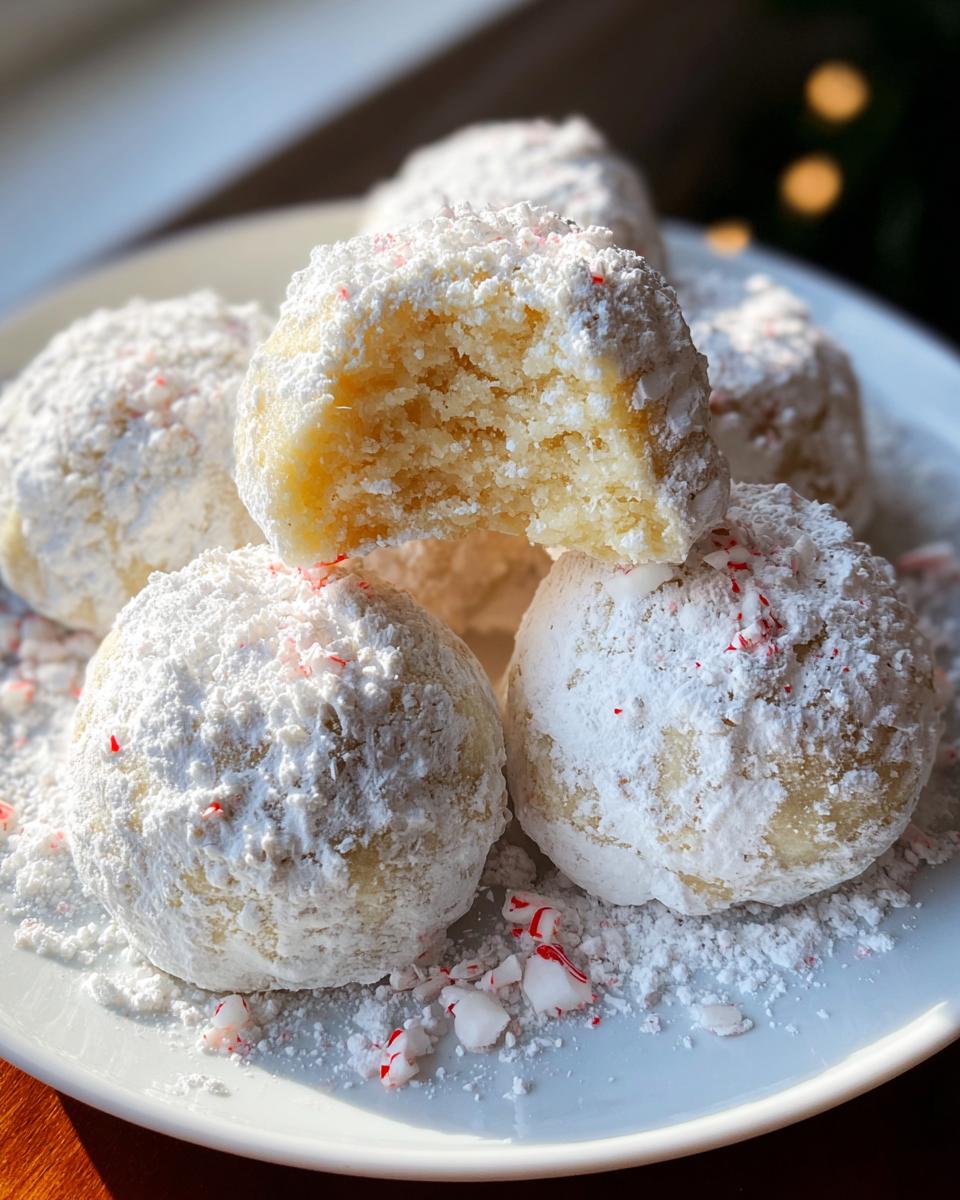
Ingredients for Peppermint Snowball Cookies
Here’s the simple lineup that creates these magical little snowballs. I’m a stickler for quality ingredients – it really makes all the difference!
- 1 cup unsalted butter, softened (Not melted! Leave it out for about 30 minutes – you should be able to make a dent with your finger)
- ½ cup powdered sugar plus more for rolling (Spoon it into the measuring cup and level it off – no packing!)
- 1 tsp vanilla extract (The good stuff, not imitation – trust me on this)
- 2 cups all-purpose flour (Fluff it before measuring to avoid dense cookies)
- ¼ tsp salt (Just a pinch to balance the sweetness)
- ¾ cup crushed peppermint candies or candy canes (I whack mine in a ziplock with a rolling pin – therapeutic and effective!)
- Optional: ½ tsp peppermint extract (For my mint-obsessed friends who want an extra kick)
See? Nothing crazy – just good, honest ingredients that turn into something spectacular. Now let’s get mixing!
Equipment You’ll Need
No fancy gadgets required – just grab these basic kitchen essentials and you’re ready to roll (literally!):
- Mixing bowls (One large, one medium – or just wash as you go like I do)
- Hand mixer or stand mixer (A wooden spoon works in a pinch if you’ve got strong arms!)
- Baking sheets (Standard half-sheet pans are perfect)
- Parchment paper (The secret to no-stick success and easy cleanup)
- Measuring cups and spoons (For perfect proportions every time)
- Cookie scoop or tablespoon (To portion those perfect little snowballs)
That’s it! Now let’s make some magic happen.
How to Make Peppermint Snowball Cookies
Alright, let’s dive into the fun part! Making these peppermint snowball cookies is like creating little edible snow globes – messy, joyful, and absolutely worth it. Follow these steps carefully, and you’ll have perfect cookies every time.
Step 1: Cream Butter and Sugar
First things first – grab that softened butter and powdered sugar. Toss them into your mixing bowl and beat them together until they’re light and fluffy. This should take about 2-3 minutes with a mixer (or 5 if you’re going old-school with a wooden spoon). The mixture should look pale and creamy – this is the foundation for that melt-in-your-mouth texture we love!
Step 2: Mix Dry Ingredients
Now, let’s add the vanilla (and peppermint extract if you’re using it). Then comes the flour and salt – but here’s my secret: add them gradually! I usually do it in three batches, mixing just until combined each time. Overmixing makes tough cookies, and we want tender little snowballs that practically dissolve on your tongue.
Step 3: Add Peppermint Crush
Time for the star of the show! Gently fold in those crushed peppermint candies. I use a spatula and sort of “lift and turn” the dough to distribute them evenly without breaking them down too much. You want little bursts of minty crunch in every bite.
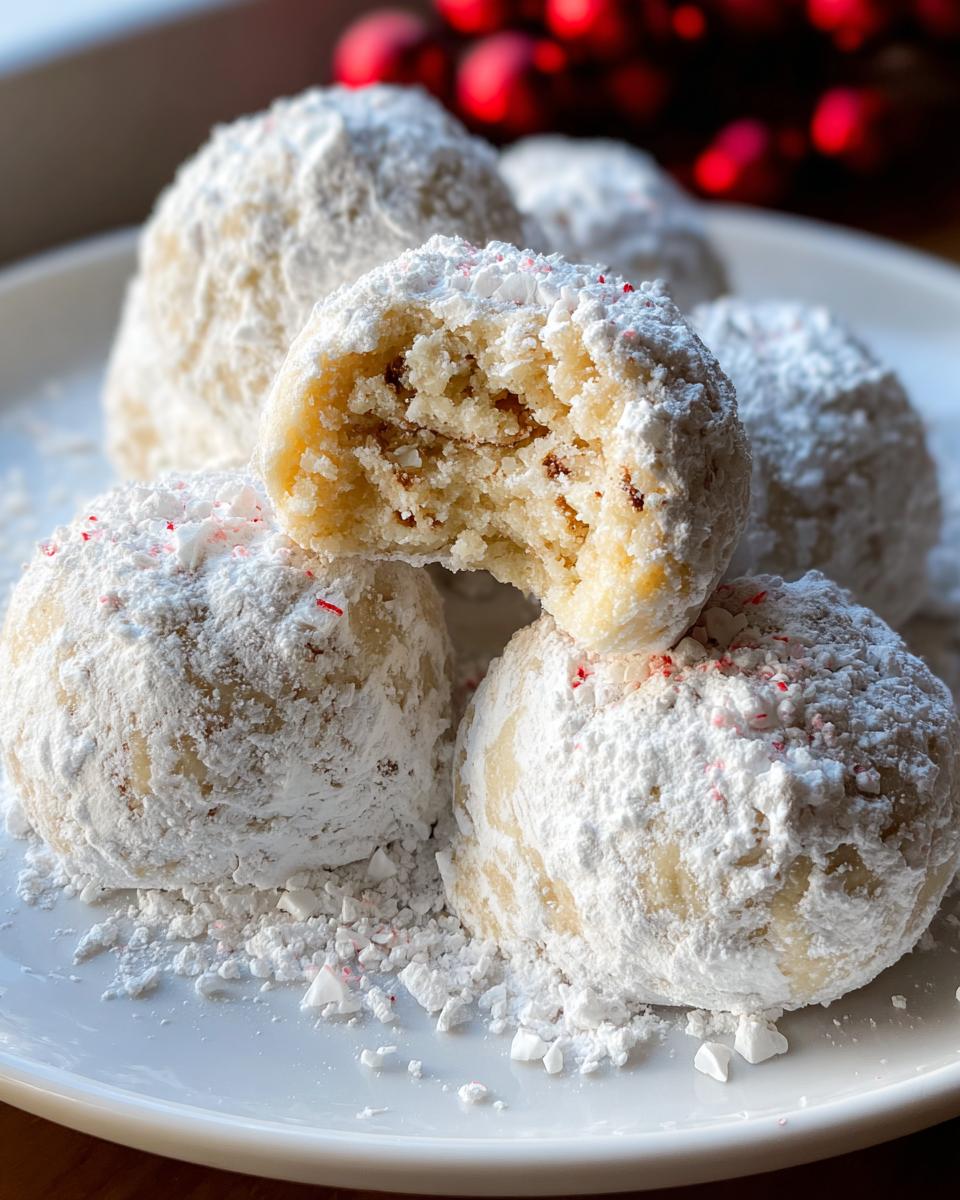
Step 4: Bake to Perfection
Scoop your dough into 1-inch balls (a cookie scoop makes this a breeze) and arrange them on parchment-lined baking sheets. They won’t spread much, so you can place them fairly close together. Bake at 350°F for 12-14 minutes – you’re looking for just golden bottoms while the tops stay pale. Overbaking is the enemy of tender snowballs!
Step 5: Double Sugar Coating
Here’s where the magic happens! While the cookies are still warm (but cool enough to handle), roll them in powdered sugar. Then let them cool completely and roll them again. This double coating gives that perfect snowy look and ensures every bite is sweetly dusted. Pro tip: do this over a tray to catch the sugar – my kitchen always ends up looking like a winter wonderland by this point!
Tips for Perfect Peppermint Snowball Cookies
After making hundreds of batches of these cookies, I’ve picked up some tricks that guarantee perfect peppermint snowballs every time:
- Chill sticky dough: If your dough feels too soft after mixing, pop it in the fridge for 20 minutes – it’ll be much easier to roll into neat little balls
- Fresh peppermint is best: Crush your candies right before mixing them in – pre-crushed ones lose their vibrant flavor
- Roll while warm: That first sugar coating sticks best when the cookies are still slightly warm from the oven
- Store smart: Keep them in an airtight container with parchment between layers – they’ll stay fresh for up to a week (if they last that long!)
- Freeze for later: These cookies freeze beautifully – just hold off on the final sugar coating until you’re ready to serve
Remember – messy hands mean happy bakers! Don’t stress if your kitchen looks like a powdered sugar bomb went off – that’s half the fun.
Variations for Peppermint Snowball Cookies
While I adore the classic version, sometimes I like to mix things up! Here are my favorite twists on these holiday treats:
- Chocolate drizzle: Melt some white chocolate and zigzag it over the cooled cookies for a pretty contrast
- Different extracts: Swap peppermint for almond or vanilla extract if you want something milder
- Cocoa powder: Replace ¼ cup flour with cocoa powder for chocolate-peppermint snowballs
- Mini chips: Fold in white chocolate chips along with the peppermint for extra sweetness
The possibilities are endless – have fun with it!
Serving and Storing Peppermint Snowball Cookies
Pile these snowy gems on a festive platter with sprigs of fresh mint for a picture-perfect presentation – they disappear fast at parties! Store leftovers (if you have any!) in an airtight container at room temperature for up to a week. For longer storage, freeze the uncoated cookies and do the final sugar dusting when ready to serve.
Nutritional Information
Just so you know what you’re biting into, here’s the scoop on these peppermint snowball cookies (but remember, nutritional values are estimates and vary based on ingredients used):
- Calories: 160 per cookie
- Sugar: 10g
- Fat: 8g
- Carbohydrates: 20g
- Protein: 1.5g
Not bad for such a festive little treat! Everything in moderation, right?
Frequently Asked Questions
Can I freeze these peppermint snowball cookies?
Absolutely! These holiday mint cookies freeze beautifully. Just skip the final sugar coating before freezing – store them in an airtight container with parchment between layers. When ready to serve, thaw at room temperature and give them that snowy powdered sugar roll for fresh-from-the-oven appeal.
What’s the best way to crush peppermint candies?
My favorite method is placing candy canes in a ziplock bag and whacking them with a rolling pin (great stress relief!). For finer pieces, pulse in a food processor. Just be careful – those sharp edges can poke through bags!
Can I make these Christmas snowball treats ahead of time?
You bet! The dough keeps well in the fridge for 3 days or freezer for a month. For best results, bake them fresh when needed – that melt-in-your-mouth texture is worth the extra effort.
Why do my cookies sometimes crack?
Don’t worry – those cracks just mean more powdered sugar gets inside! To minimize cracking, make sure your butter isn’t too soft and avoid overmixing the dough. A few cracks just add rustic charm to these festive cookie exchange favorites.
Irresistible Peppermint Snowball Cookies Recipe in 5 Simple Steps

A melt-in-your-mouth holiday treat packed with peppermint magic!
- Prep Time: 15 minutes
- Cook Time: 12 minutes
- Total Time: 27 minutes
- Yield: 24 cookies 1x
- Category: Dessert
- Method: Baking
- Cuisine: American
- Diet: Vegetarian
Ingredients
- 1 cup unsalted butter, softened
- ½ cup powdered sugar (plus more for rolling)
- 1 tsp vanilla extract
- 2 cups all-purpose flour
- ¼ tsp salt
- ¾ cup crushed peppermint candies (or candy canes)
- Optional: ½ tsp peppermint extract (for extra minty kick)
Instructions
- Cream butter and powdered sugar until light and fluffy.
- Mix in vanilla (and peppermint extract if using), then gradually add flour and salt.
- Gently stir in crushed peppermint candies.
- Scoop dough into 1-inch balls and place on a parchment-lined sheet. Bake at 350°F (175°C) for 12–14 minutes until bottoms are golden.
- While still warm, roll cookies in powdered sugar. Once cooled, roll again for a snowball effect.
Notes
- Store in an airtight container to maintain freshness.
- For extra minty flavor, add peppermint extract.
Nutrition
- Serving Size: 1 cookie
- Calories: 160
- Sugar: 10g
- Sodium: 25mg
- Fat: 8g
- Saturated Fat: 5g
- Unsaturated Fat: 3g
- Trans Fat: 0g
- Carbohydrates: 20g
- Fiber: 0.5g
- Protein: 1.5g
- Cholesterol: 20mg