
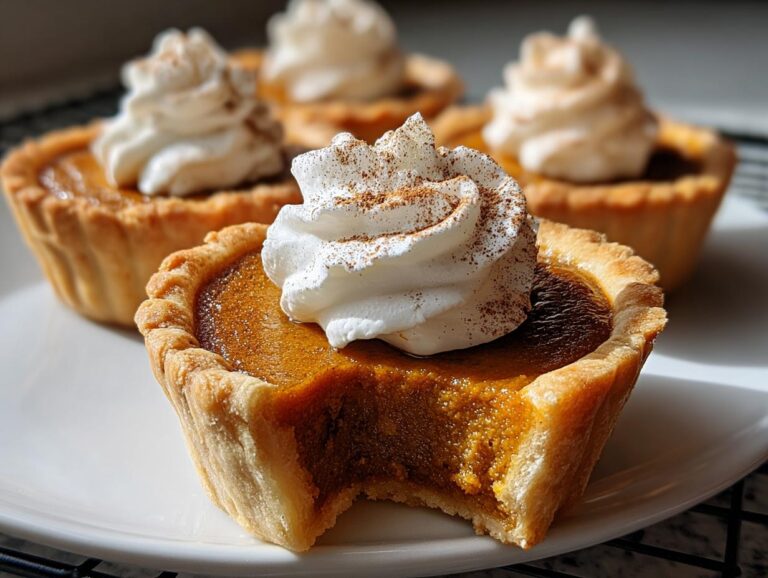
There’s something magical about mini desserts—they’re cute, portion-controlled, and perfect for sharing (or not sharing, no judgment here!). My obsession with mini pumpkin pies started years ago when I needed a last-minute Thanksgiving dessert that wouldn’t take up precious oven space. One bite of these spiced, creamy little pies, and I was hooked. Now, they’re my go-to for any fall gathering, from Halloween parties to Friendsgiving feasts. The best part? They bake faster than a whole pie, and everyone gets their own adorable serving. Trust me, once you try these, you’ll never go back to slicing messy wedges again!
Why You’ll Love These Mini Pumpkin Pies
Listen, I’m not exaggerating when I say these mini pumpkin pies will become your new fall obsession. Here’s why:
- They bake in HALF the time of a regular pie (no more waiting hours for dessert!)
- Perfect for parties – no messy slicing, just grab and go
- That adorable factor – everything tastes better when it’s bite-sized
- All the cozy cinnamon-spiced flavor you crave in pumpkin pie
- Kids go crazy for having their own “personal pie”
Seriously, they disappear faster than Halloween candy at my house. The hardest part? Not eating them all yourself before guests arrive!
Ingredients for Mini Pumpkin Pies
Gather these simple ingredients – you probably have most in your pantry already! I like to separate them into “crust” and “filling” groups to keep things organized:
- For the crust:
- 1 box refrigerated pie crusts (2 crusts), softened
- For the filling:
- 1 (15 oz) can pumpkin puree (not pie filling!)
- 1 (12 oz) can evaporated milk
- 2 large eggs
- 3/4 cup granulated sugar
- 1 tsp ground cinnamon
- 1/2 tsp ground ginger
- 1/4 tsp ground cloves
- 1/2 tsp salt
- 1 tsp vanilla extract
- For topping:
- Whipped cream
- Ground cinnamon for garnish
Ingredient Notes & Substitutions
A few quick tips about ingredients: First, always use plain pumpkin puree, not pumpkin pie filling (they’re totally different!). If you’re dairy-free, coconut milk works beautifully instead of evaporated milk. And while I love the convenience of store-bought crusts, homemade crust tastes amazing if you’ve got the time. Oh, and fresh nutmeg instead of ground? Yes please – just use half the amount!
How to Make Mini Pumpkin Pies
Okay, let’s get baking! These mini pumpkin pies come together in just three simple steps. I’ll walk you through each one like I’m right there in your kitchen with you. You’ll be amazed how easy it is to create these little bites of fall magic.
Step 1: Prepare the Crusts
First things first – preheat that oven to 350°F (175°C). Now, unroll your pie crusts on a lightly floured surface. Here’s my trick: use a 3-inch round cookie cutter (or the rim of a drinking glass works great too!) to cut out perfect little circles. Gently press each circle into the cups of a standard muffin tin – don’t stretch the dough too much or it’ll shrink back while baking. If you’ve got extra dough scraps, roll them out and make more circles – waste not, want not!
Step 2: Mix the Filling
This is where the magic happens! In a large bowl, whisk together the pumpkin puree, evaporated milk, eggs, sugar, spices, salt, and vanilla until perfectly smooth. Pro tip: use a hand mixer for about 30 seconds if you want an extra silky texture – it makes all the difference! The filling should be the consistency of pancake batter – not too thick, not too runny. Smell that? That’s the scent of holidays right there!
Step 3: Bake & Cool
Carefully fill each crust about 3/4 full with the pumpkin mixture – I use a small measuring cup for this to avoid spills. Pop them in the oven for 25-30 minutes. You’ll know they’re done when the edges are set but the centers still have a slight jiggle (they’ll firm up as they cool). Let them cool in the pan for 10 minutes – I know it’s hard to wait, but this prevents soggy bottoms! Then transfer to a wire rack to cool completely before adding whipped cream.
Tips for Perfect Mini Pumpkin Pies
After making hundreds of these little guys (seriously, I might have a problem), I’ve picked up some foolproof tricks to guarantee bakery-worthy mini pumpkin pies every single time. Here are my can’t-live-without secrets:
- Chill those crusts! Pop the muffin tin with crusts in the fridge for 10 minutes before filling – it helps prevent shrinkage and keeps those pretty fluted edges.
- Tap out air bubbles like you’re burping a baby. After filling the crusts, gently tap the muffin tin on the counter 2-3 times to release any trapped air – no more sunken centers!
- Piping bag pro move: For picture-perfect filling, transfer your pumpkin mixture to a piping bag or ziplock with the corner snipped off. So much cleaner than spooning it in!
- Rotate halfway through baking if your oven has hot spots (most do). This ensures even browning on all your mini pies.
- The toothpick test lies! Unlike cakes, you want a slight wobble in the center when you jiggle the pan – they’ll set as they cool. Overbaking makes them rubbery.
Oh, and one last thing – resist the urge to peel off the foil from store-bought crusts right away! Let them sit at room temperature for 15 minutes first, or the dough cracks like my patience when someone tries to take the last pie.
Serving & Storage
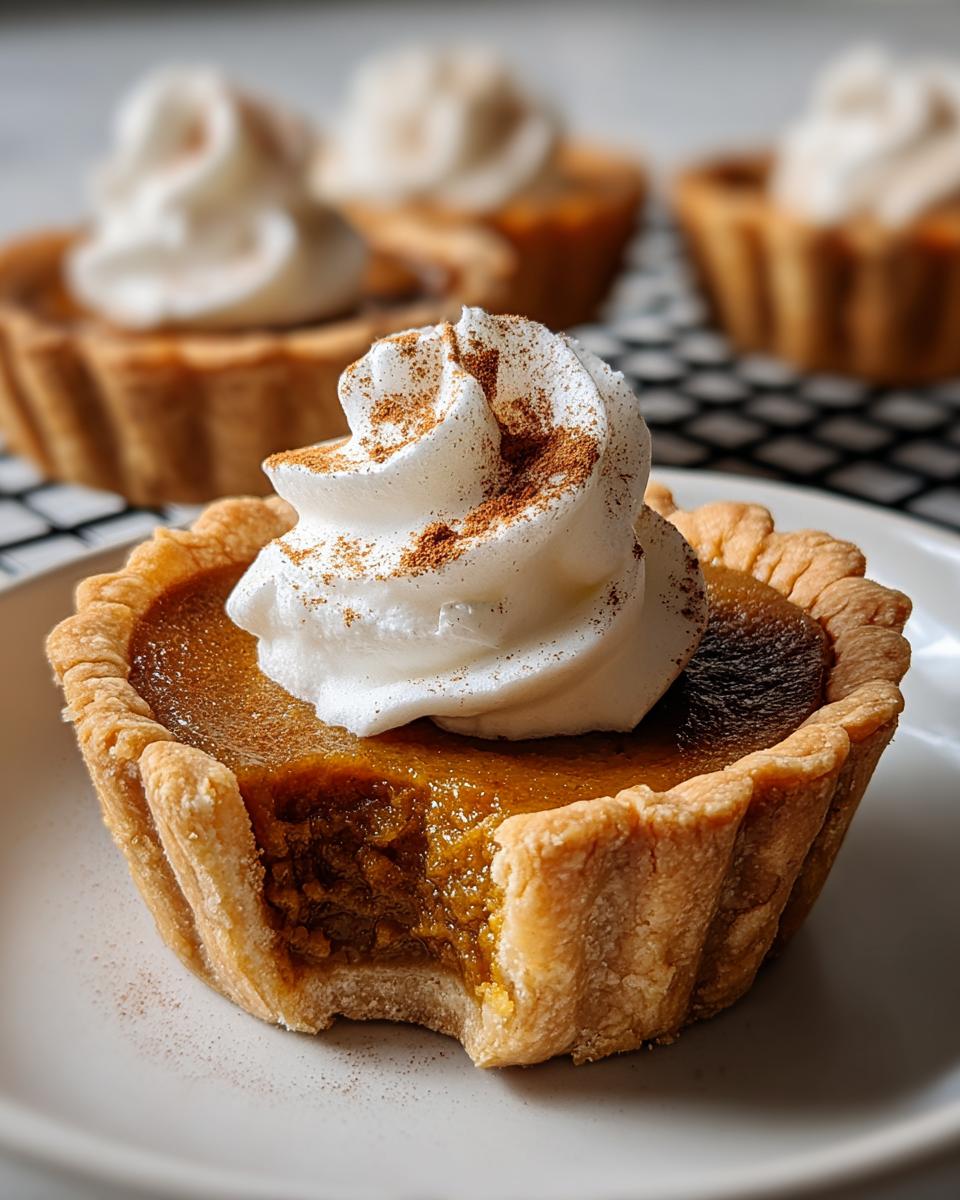
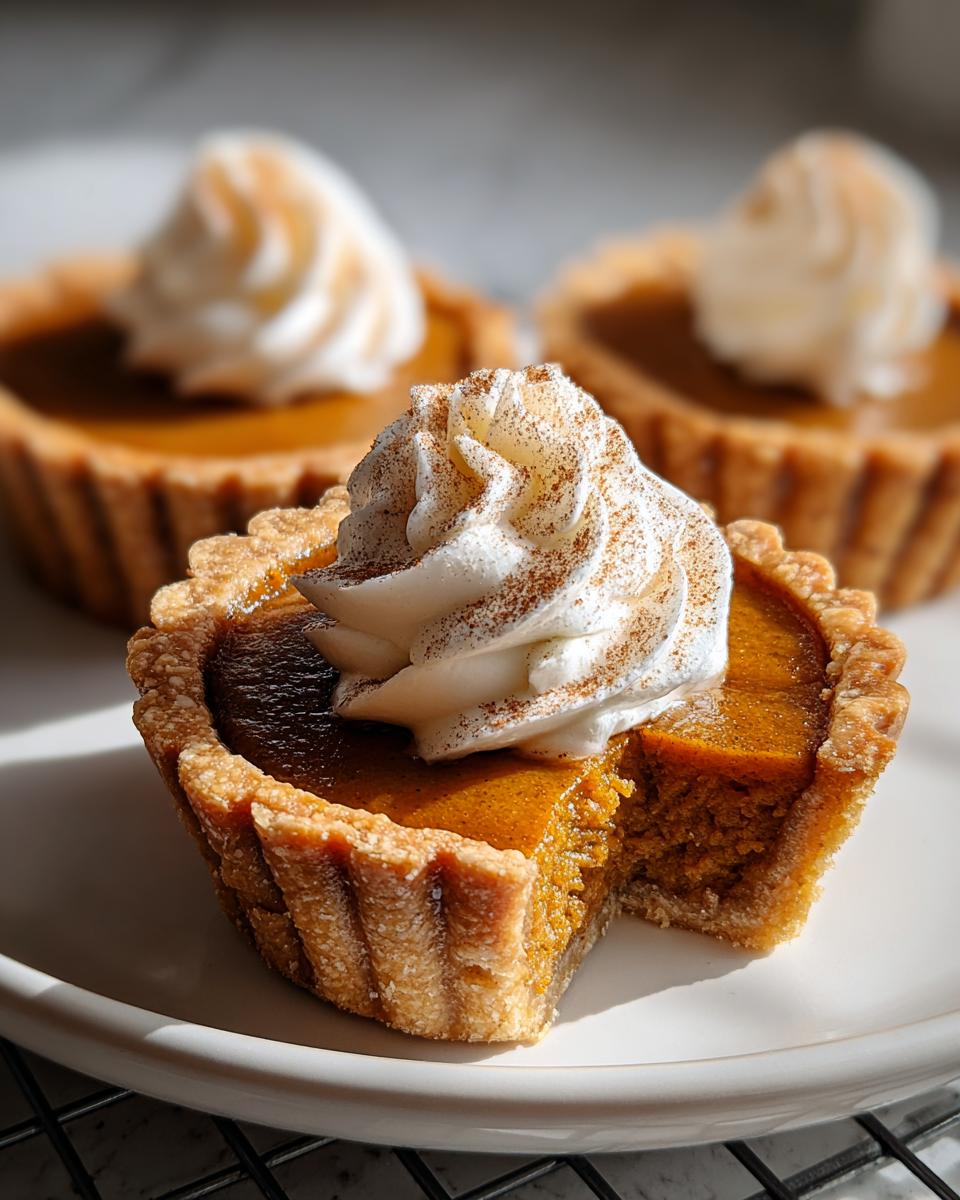
Now for the best part – eating these adorable mini pumpkin pies! I always serve them with a generous dollop of freshly whipped cream and a light dusting of cinnamon. For special occasions, I’ll pipe the whipped cream into pretty little rosettes – makes them look straight from a bakery. These pair perfectly with a mug of hot apple cider or a creamy pumpkin spice latte. My uncle swears they’re even better with a scoop of vanilla ice cream melting on top (who am I to argue?).
Leftovers? Ha! Just kidding – though they do disappear fast at my house. If you miraculously have any left, store them in an airtight container in the fridge for up to 3 days. The crust stays surprisingly crisp! For the best texture, let them sit at room temperature for about 15 minutes before serving again. If you must reheat, 10 seconds in the microwave takes the chill off without making the crust soggy. Pro tip: Add the whipped cream fresh each time – nobody likes weepy whipped cream!
Oh, and if you’re prepping ahead for a party? These little gems hold up beautifully. Assemble them (without toppings) the day before and just add whipped cream right before serving. The flavors actually deepen overnight – it’s like pumpkin pie magic!
Mini Pumpkin Pies Variations
Once you’ve mastered the basic recipe (which, let’s be honest, is perfect as-is), it’s fun to play around with different flavors and toppings. These are my favorite ways to mix things up when I’m feeling fancy or just want to use what’s in my pantry:
- Nutty crunch: Sprinkle chopped pecans or walnuts on top before baking – they toast up beautifully and add amazing texture. My dad loves when I press a pecan half into each mini pie for a pretty presentation.
- Spice it up: Swap the individual spices for 2 teaspoons of pumpkin pie spice if you’re short on time. Feeling adventurous? Add a pinch of cardamom for a warm, floral note that’ll make people ask, “What’s that amazing flavor?”
- Caramel delight: Drizzle warm caramel sauce over the whipped cream topping – it’s like having pumpkin pie and caramel apple in one bite! For extra decadence, sprinkle with a touch of flaky sea salt.
- Chocolate twist: Mix 1/4 cup of mini chocolate chips into the filling before baking. The chocolate melts into pockets of gooey goodness – kids especially go wild for this version.
- Gingersnap crust: Instead of regular pie crust, use crushed gingersnap cookies mixed with melted butter to make the base. Just press into the muffin tins and bake for 5 minutes before adding filling. The spicy-sweet combo is incredible!
The best part? You can make a few different variations in one batch – just divide your filling and customize each section. That way everyone gets their perfect mini pumpkin pie! (And you get to play mad scientist in the kitchen, which is half the fun if you ask me.)
Nutrition Information
Now, I’m no nutritionist (just a pumpkin pie enthusiast!), but I know some folks like to keep track of these things. Here’s the deal – these mini pumpkin pies pack all the cozy flavors of fall in perfectly portioned bites. The nutritional values will vary depending on your specific ingredients (like full-fat vs. low-fat milk, or homemade vs. store-bought crust), but each little pie gives you a satisfying taste of autumn without going overboard.
Remember, these are estimates – your actual numbers might differ based on how generous you are with the whipped cream (no judgment here!). The pumpkin itself brings fiber and vitamin A to the party, while the spices offer their own little health perks. But let’s be real – we’re here for the deliciousness, right? Everything in moderation, including moderation – that’s my baking philosophy!
Pro tip: If you’re watching your sugar intake, you can reduce the sugar by about 1/4 cup without sacrificing too much flavor. The spices really shine through! And hey, they’re mini – that automatically makes them better for you than a giant slice of pie… at least that’s what I tell myself when I eat three in a row!
Common Questions About Mini Pumpkin Pies
Over the years, I’ve gotten so many questions about these bite-sized pumpkin treats – and I love helping folks troubleshoot! Here are the answers to the questions I hear most often:
Can I freeze mini pumpkin pies?
Absolutely! These are one of my favorite make-ahead Thanksgiving dessert ideas. Let them cool completely, then freeze without toppings in an airtight container for up to 2 months. Thaw in the fridge overnight and add fresh whipped cream before serving. The texture stays perfect!
Can I use fresh pumpkin instead of canned?
You sure can, but here’s my honest take – canned pumpkin puree actually gives more consistent results for these mini holiday pies. Fresh pumpkin varies in moisture content, so if you go that route, roast and puree it first, then strain out excess liquid. Otherwise your filling might be too runny.
Why are my crusts shrinking while baking?
Oh honey, I’ve been there! Three likely culprits: 1) You stretched the dough when pressing it into the tin (handle it gently!), 2) You skipped chilling the crusts before baking, or 3) Your oven wasn’t fully preheated. Try my chill-and-don’t-overwork method next time!
Can I make these mini pumpkin pies gluten-free?
Yes! Simply swap in your favorite gluten-free pie crust (store-bought or homemade). The pumpkin pie filling is naturally gluten-free, so you only need to adjust the crust. They taste just as amazing – my gluten-free friends never know the difference!
How do I prevent the filling from cracking?
Those little cracks break my heart too! The secret? Don’t overbake (remember that slight jiggle in the center), and let them cool gradually in the turned-off oven with the door cracked for 10 minutes. The slower cooling helps prevent cracks in these spiced pumpkin desserts.
Got more questions? Slide into my DMs anytime – I could talk mini pumpkin pies all day! Nothing makes me happier than helping people bake these little bites of joy.
For more delicious recipes and inspiration, check out my Pinterest page.
Print18 Irresistible Mini Pumpkin Pies That Wow Every Time

Perfectly spiced mini pumpkin pies for your easy fall dessert fix. These bite-sized treats are ideal for holiday gatherings and Thanksgiving dessert tables.
- Prep Time: 15 minutes
- Cook Time: 30 minutes
- Total Time: 45 minutes
- Yield: 12 mini pies 1x
- Category: Dessert
- Method: Baking
- Cuisine: American
- Diet: Vegetarian
Ingredients
- 1 (15 oz) can pumpkin puree
- 1 (12 oz) can evaporated milk
- 2 large eggs
- 3/4 cup granulated sugar
- 1 tsp ground cinnamon
- 1/2 tsp ground ginger
- 1/4 tsp ground cloves
- 1/2 tsp salt
- 1 tsp vanilla extract
- 1 box refrigerated pie crusts (2 crusts), softened
- Whipped cream, for topping
- Ground cinnamon, for garnish
Instructions
- Roll out the pie crusts and cut circles to fit into muffin tins. Press them into each cup.
- Mix pumpkin puree, sugar, spices, eggs, milk, salt, and vanilla until smooth.
- Fill each mini pie crust with the pumpkin mixture until 3/4 full.
- Bake at 350°F (175°C) for 25–30 minutes or until set.
- Cool in the tin for 10 minutes, then transfer to a wire rack.
- Top with whipped cream and a sprinkle of cinnamon before serving.
Notes
- Use a cookie cutter or glass to cut perfect crust circles.
- For a smoother filling, blend the mixture with a hand mixer.
- Store leftovers in the refrigerator for up to 3 days.
Nutrition
- Serving Size: 1 mini pie
- Calories: 180
- Sugar: 15g
- Sodium: 150mg
- Fat: 7g
- Saturated Fat: 3g
- Unsaturated Fat: 3g
- Trans Fat: 0g
- Carbohydrates: 25g
- Fiber: 2g
- Protein: 3g
- Cholesterol: 35mg