
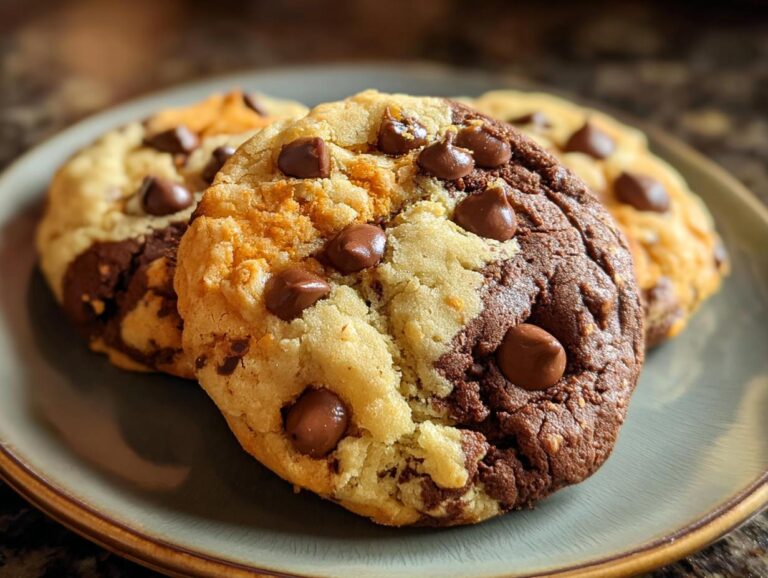
There’s something magical about fall baking—the crisp air, the scent of cinnamon, and the cozy feeling of pulling warm cookies from the oven. These Harvest Marble Chocolate Chip Cookies are my absolute favorite way to celebrate the season. I first made them on a chilly afternoon when my niece begged for “something orange and chocolatey,” and let me tell you, they were a hit! The marbled swirls of pumpkin-orange and rich cocoa dough make them look as festive as they taste. Perfect for Halloween parties or just curling up with a cup of apple cider, these cookies bring a little autumn magic to every bite.
Ingredients for Harvest Marble Chocolate Chip Cookies
Gathering the right ingredients makes all the difference in these marbled beauties. Here’s what you’ll need to create that perfect swirl of autumn flavors:
- 2 ½ cups all-purpose flour – spooned and leveled (no packing!)
- 1 tsp baking soda – fresh for maximum lift
- ½ tsp salt – just enough to balance the sweetness
- 1 cup unsalted butter, softened – leave it out for 30 minutes (it should dent slightly when pressed)
- 1 cup packed brown sugar – press it firmly into your measuring cup for that caramel depth
- ½ cup granulated sugar – because every cookie needs that crispy edge
- 2 large eggs – room temperature blends smoother
- 2 tsp vanilla extract – the good stuff, not imitation
- 1 cup chocolate chips – I mix semi-sweet and dark for grown-up appeal
- Gel food coloring – orange for pumpkin vibes (liquid dyes make dough too sticky)
- 1 tbsp cocoa powder – optional for a deeper chocolate swirl
Pro tip: Measure your flour by spooning it into the cup, then leveling with a knife. Too much flour = hockey pucks, and nobody wants that!
How to Make Harvest Marble Chocolate Chip Cookies
Okay, here’s where the real fun begins! Making these cookies is like creating edible autumn artwork. Follow these steps, and you’ll have the prettiest (and tastiest) marbled cookies on the block.
Prepare the Cookie Dough Base
First things first – let’s make that perfect cookie dough foundation. Grab your stand mixer or trusty wooden spoon if you’re feeling old-school. Cream together the softened butter and sugars for a good 2-3 minutes until it’s light and fluffy – this is KEY for that perfect texture. Then beat in the eggs one at a time, followed by the vanilla. Now, here’s my secret: I always add a pinch of cinnamon to the dry ingredients for that extra cozy fall flavor. Gently mix in the flour mixture just until combined – overmixing is the enemy of tender cookies! Finally, fold in those chocolate chips with love.
Color and Marble the Dough
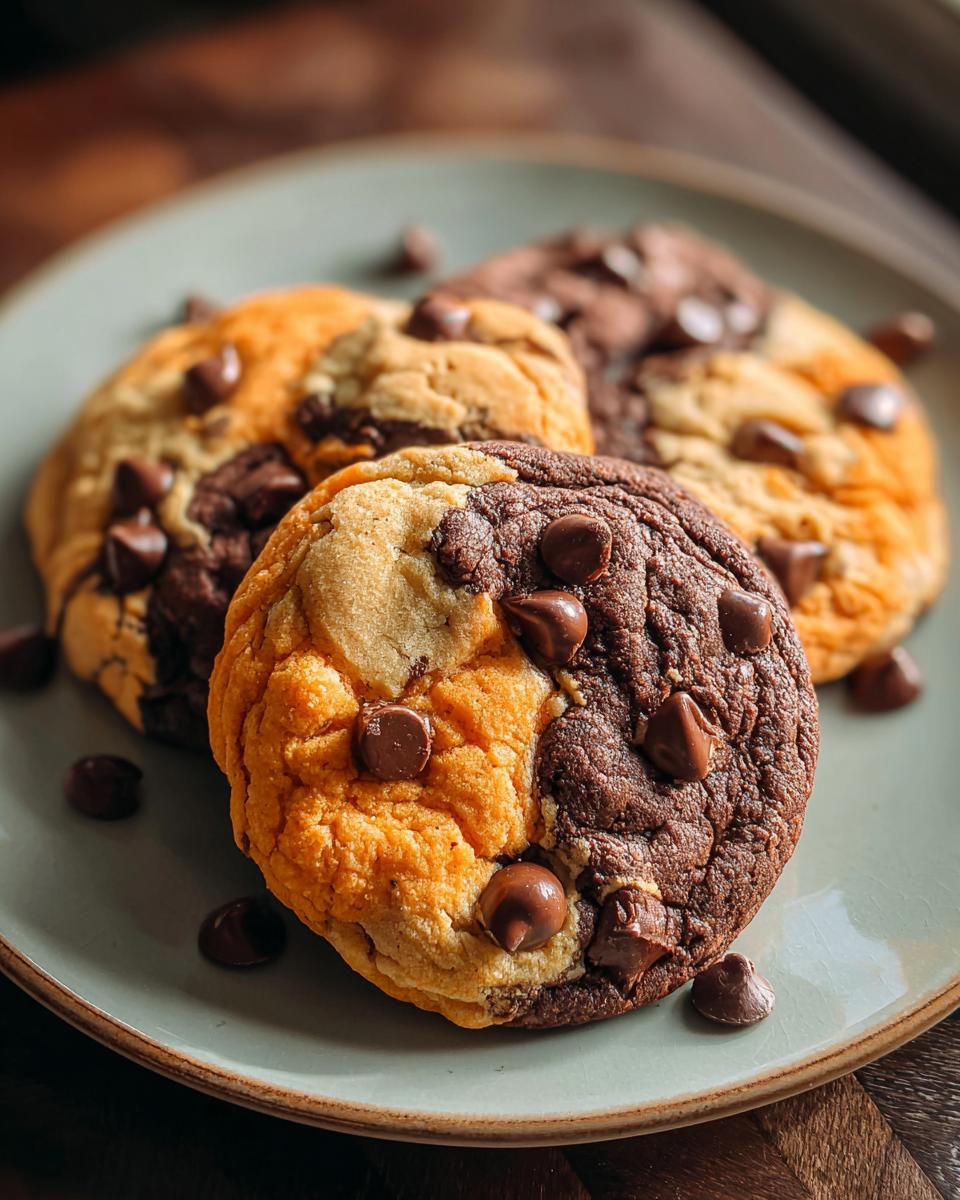
Now for the artistic part! Divide your dough into three portions. Leave one plain, mix orange gel coloring into another (start with a toothpick amount – you can always add more!), and blend cocoa powder into the third. Here’s my trick: use a cookie scoop to grab small bits of each colored dough, then gently press them together in your hands. Don’t knead – just lightly swirl! You want those beautiful streaks of color, not a muddy brown mess. I like to press extra chocolate chips on top for that bakery-worthy look.
Bake and Cool
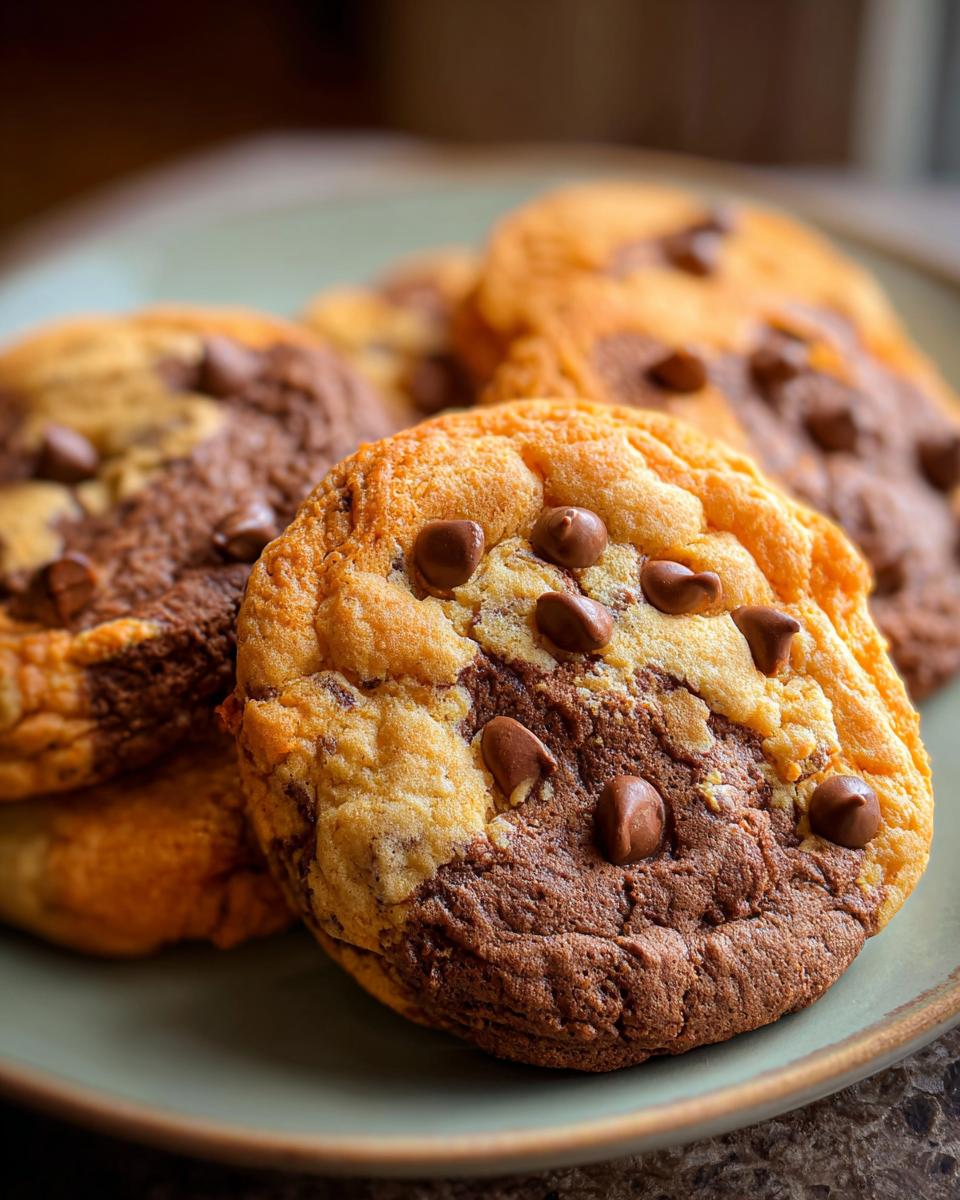
Preheat your oven to 350°F (175°C) – no cheating on this step! Line your baking sheets with parchment paper (trust me, it’s worth it). Space your dough balls about 2 inches apart – these cookies like to spread their wings. Bake for 10-12 minutes until the edges are just set but the centers still look slightly underdone. They’ll continue cooking on the hot tray for 5 minutes after you pull them out. Resist the urge to eat them immediately (I know, it’s hard) – this resting time helps them set up perfectly.
Tips for Perfect Harvest Marble Chocolate Chip Cookies
Want bakery-worthy cookies every time? Here’s my foolproof advice: First, always use gel food coloring – liquid dyes make dough sticky and colors fade. Second, room-temperature ingredients blend smoother (cold eggs = lumpy dough). And most importantly – underbake slightly! Pull them out when centers still look soft for that perfect chewy texture.
Ingredient Substitutions & Variations
No brown sugar? No problem! You can swap in coconut sugar for a deeper flavor – just pack it like you would brown sugar. Out of eggs? A flax egg (1 tbsp ground flax + 3 tbsp water) works surprisingly well here. For vegan friends, plant-based butter and dairy-free chocolate chips make these cookies totally plant-based. And if you’re out of gel coloring, try mixing a bit of pumpkin puree into one portion of dough for a natural orange hue (just reduce other liquids slightly). Nut lovers can fold in chopped pecans or walnuts – they pair perfectly with those autumn flavors!
Serving and Storing Harvest Marble Chocolate Chip Cookies
Nothing beats biting into one of these cookies still warm from the oven with a cold glass of milk or a steaming mug of spiced cider – pure fall bliss! To keep that just-baked freshness, store them in an airtight container at room temperature for up to 3 days (if they last that long). Want to revive leftover cookies? Pop them in the microwave for 10 seconds or warm them in a 300°F oven for 5 minutes. I always stash a few in the freezer too – just wrap them tightly, and they’ll stay delicious for up to 2 months. Perfect for when those autumn cookie cravings strike!
Nutritional Information
Just so you know, these numbers are estimates – every cookie’s a little different! Per cookie, you’re looking at about 190 calories, 9g fat (5g saturated), 25g carbs, and 12g sugar. Not bad for such a delicious autumn treat!
FAQs About Harvest Marble Chocolate Chip Cookies
Can I use liquid food coloring instead of gel?
Oh honey, I don’t recommend it! Liquid dyes make the dough sticky and the colors fade when baked. Gel coloring gives those vibrant pumpkin-orange swirls without messing with the texture. If you’re in a pinch, try reducing other liquids slightly if you must use liquid dye.
How do I freeze the dough for later?
My freezer always has a stash of these! Roll the marbled dough into balls, freeze them solid on a tray, then transfer to a freezer bag. They’ll keep for 2 months – just add 1-2 minutes to the bake time when you’re ready. Perfect for spontaneous autumn cookie cravings!
Why did my cookies turn out flat?
Been there! Usually it’s one of three things: butter was too soft (should dent slightly when pressed), dough got too warm before baking (chill it if needed), or your baking soda might be old. Also – don’t skip creaming the butter and sugar properly – that fluffy texture gives structure!
Can I make these without the chocolate chips?
Absolutely! They’ll still be delicious as harvest marble cookies – the cocoa powder swirl gives plenty of chocolate flavor. Or get creative with mix-ins like dried cranberries or chopped pecans for a different autumn twist.
Ready to Make Some Autumn Magic?
There you have it – everything you need to create these gorgeous Harvest Marble Chocolate Chip Cookies! I can’t wait for you to experience that first bite of warm, marbled cookie goodness. The best part? Watching everyone’s faces light up when they see those beautiful swirls of orange and chocolate. Trust me, these cookies disappear FAST at gatherings!
Now it’s your turn – grab your mixing bowls and let’s bake up some autumn joy together. Don’t forget to snap a photo of your marbled masterpieces and tag me – I love seeing your creative twists on this recipe. Happy baking, friends!
PrintIrresistible 3-Ingredient Harvest Marble Chocolate Chip Cookies

Soft, cozy, and fun-to-make fall-style chocolate chip cookies with a marble effect for a perfect snack.
- Prep Time: 15 minutes
- Cook Time: 12 minutes
- Total Time: 27 minutes
- Yield: 20 cookies 1x
- Category: Dessert
- Method: Baking
- Cuisine: American
- Diet: Vegetarian
Ingredients
- 2 ½ cups all-purpose flour
- 1 tsp baking soda
- ½ tsp salt
- 1 cup unsalted butter, softened
- 1 cup brown sugar
- ½ cup granulated sugar
- 2 large eggs
- 2 tsp vanilla extract
- 1 cup chocolate chips (semi-sweet or mix)
- Food color options for harvest marble: pumpkin orange, cocoa powder, optional yellow gel coloring
Instructions
- Make the base dough: Cream butter and sugars until fluffy, then beat in eggs and vanilla. Mix in dry ingredients just until combined.
- Divide & color: Split dough into 2–3 bowls. Tint one with orange gel, another with cocoa powder, leaving one plain.
- Marble the dough: Grab small pieces of each dough and gently press together—don’t overmix. Roll into balls and press chocolate chips on top.
- Bake to perfection: Bake at 350°F (175°C) for 10–12 minutes. Edges should be set but centers still soft.
- Cool & serve: Let them rest on the tray 5 minutes before moving. Enjoy warm.
Notes
- Use gel food coloring for vibrant colors.
- For best texture, don’t overbake.
- Store in an airtight container for up to 3 days.
Nutrition
- Serving Size: 1 cookie
- Calories: 190
- Sugar: 12g
- Sodium: 85mg
- Fat: 9g
- Saturated Fat: 5g
- Unsaturated Fat: 3g
- Trans Fat: 0g
- Carbohydrates: 25g
- Fiber: 1g
- Protein: 2g
- Cholesterol: 30mg